Meal planning for the first weeks after birth means deciding and cooking most of your meals before the baby arrives, so that the fourth trimester — the twelve weeks after birth — is spent eating rather than deciding. The plan works because it front-loads the effort into a period when you still have energy and a working kitchen, then mixes fresh quick meals in week one with individually portioned frozen meals from week three onward.
This guide is written for birthing parents, for partners who will be cooking at 2 a.m., and for relatives who want to help with something other than holding the baby. It assumes very short cooking windows, changing appetite, and a body that is healing. Nothing here needs a full afternoon, an oven at midnight, or a partner who is also awake.
One thing to say plainly: the real risk in the first weeks is not a bad menu. It is no menu at all, and a run of takeaway eaten standing up at the sink.
Table of Contents
- What You Need
- Step-by-Step: How to Plan Meals for the First Weeks After Birth
- 1. Build a Three-Day Meal Template
- 2. Choose Two Flexible Base Meals
- 3. Shop in Two Small Grocery Trips
- 4. Prep Components, Not Every Meal
- 5. Label and Store Food Safely
- 6. Create a No-Cook Backup Plan
- When to Call Your Provider Instead of a Food Question
- Common Mistakes
- Frequently Asked Questions
- How many meals should I prepare for the first weeks after birth?
- Is meal planning realistic after a difficult birth or a long recovery?
- What are the easiest foods to keep on hand during the first weeks?
- How long can prepared meals and leftovers be stored safely?
- Should partners, relatives, or doulas follow the same meal plan?
What You Need
You need fewer materials than most meal-planning guides suggest — a short written template, containers that stack, and a shopping list with some flexibility. The goal of meal planning for the first weeks after birth is to remove decisions at 3 a.m., not to build a perfect menu.
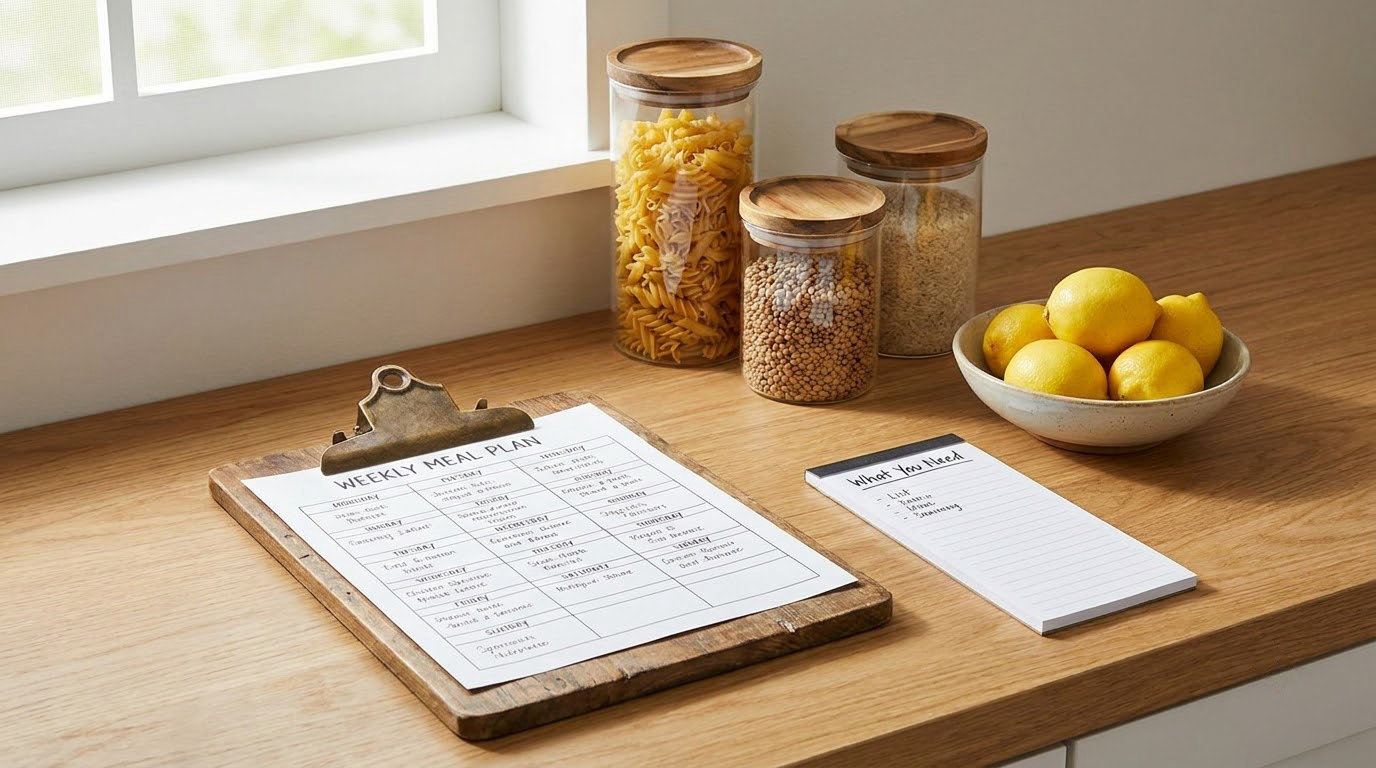
- A three-day meal template — the same breakfast, lunch, dinner and snack shape repeated for three days on paper or in your phone notes.
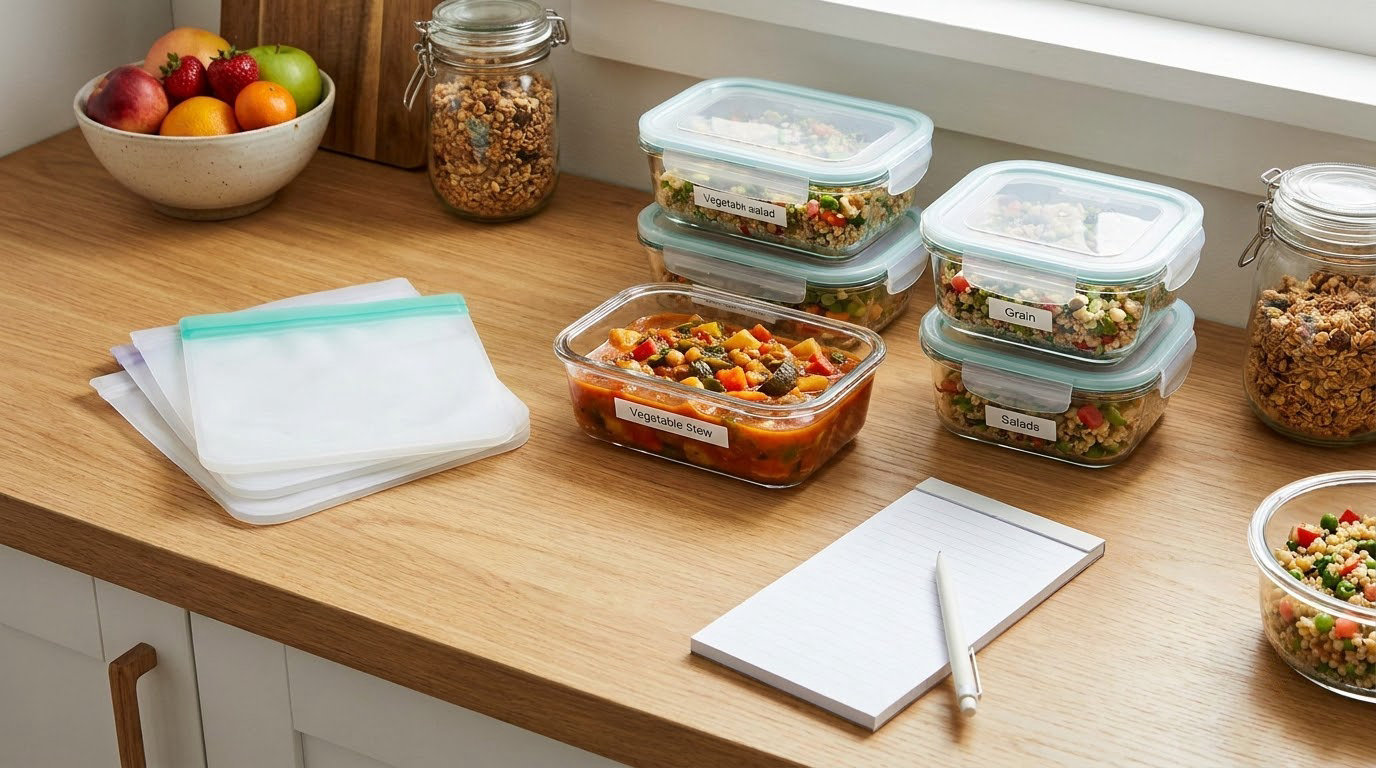
- Storage — rectangular containers that fit a standard freezer shelf flat, plus a marker for dating each one. Bags work too, but flat bags stack better.
- A flexible shopping list — grouped by store aisle, with an “eat first” column for the perishable things that should not be frozen.
- Basic tools — a large pot, one sheet pan, a slow cooker if you own one, a knife, and a microwave you trust. A timer matters more than any gadget.
- Easy foods — oatmeal, eggs, yogurt, sandwiches, soup, sheet-pan vegetables, pasta, and rice. Boring foods are the point.
- Prepared ingredients — pre-chopped frozen vegetables, cooked grains in the freezer, and single-serve proteins you can grab without a knife.
If you only manage the first three items, you are already ahead of where most people start.
Step-by-Step: How to Plan Meals for the First Weeks After Birth
The process has six steps, and you can stop after any of them. Each one assumes that cooking happens around recovery, feeding and naps rather than inside a tidy daily routine — nobody’s day has a free two-hour block in week one. Work through them in order, then finish with the no-cook list, which is what carries you through the worst nights.
1. Build a Three-Day Meal Template
Repeat three days, then change the ingredients rather than the shape. One breakfast, one lunch, one dinner and two snacks that can be eaten one-handed, written down once and repeated until you are bored of it.
A workable starting template looks like this:
- Breakfast — oatmeal with nut butter and banana, or eggs scrambled in one pan while the kettle boils. Both are single-handed and under ten minutes.
- Lunch — sandwiches, yogurt with fruit, or the extra portion of last night’s dinner over rice.
- Dinner — sheet-pan vegetables and chicken thighs, a pot of soup, or pasta with a jarred sauce.
- Snacks — nuts, crackers with cheese, fruit, trail mix, and something you can eat with one hand while holding a baby.
You have a working template when you could draw tomorrow’s meals from memory without thinking about it. That is the test.
2. Choose Two Flexible Base Meals
Pick two dishes that produce more food than one meal needs, and cook each more than once. A pot of chili, a baked pasta, tacos with a tray of fixings, a grain bowl or a large pot of soup all work because the second portion becomes lunch, then dinner, then a frozen portion.
The method parents report using most often is the simple one: cook one dinner three times a week instead of cooking three different dinners once. Over two weeks that is a genuine supply of food, and it costs the same effort each time.
You have enough when two base meals cover roughly a third of your dinners for the first two weeks. Leave the rest of the week open for fresh food and help from other people.
3. Shop in Two Small Grocery Trips
Divide shopping into essentials and replenishment, and split them across two trips rather than one enormous cart. Smaller trips are easier to carry with a newborn and much easier to abandon when you feel awful.
Sort each item into one of three buckets: eat it within a few days, cook it in one batch this week, or freeze it now. Anything in the third bucket should be a size you can portion before freezing, not one large tray that will be wasted after two servings.
Substitutions are simple if you plan by role rather than by recipe. Beans stand in for ground beef in chili and add fiber and iron. Tinned fish replaces chicken in pasta. Frozen vegetables replace fresh in soup. Frozen bread becomes toast. If you avoid dairy, use fortified plant milk, coconut yogurt or calcium-set tofu, and if you cook vegan, lentils, tofu, beans and eggs carry most of the protein load.
4. Prep Components, Not Every Meal
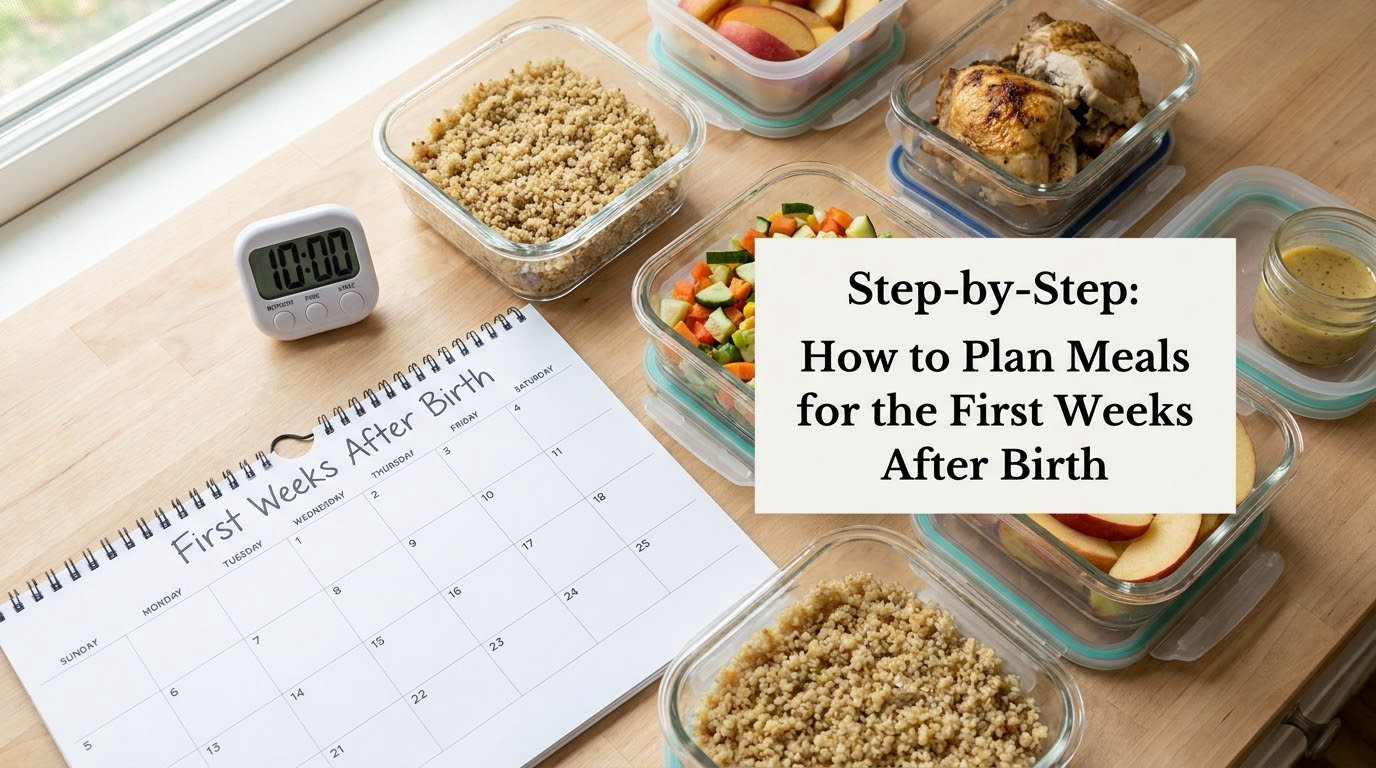
Prep the parts, not the dishes. A tray of roasted vegetables, a batch of cooked rice or quinoa, portioned proteins, a jar of sauce, washed salad greens and snacks divided into small bags give you a dozen cheap combinations later without another cooking session.
Keep the prep short. One session of 45 to 60 minutes, done while someone else holds the baby or during a nap, is plenty. If you can only manage 20 minutes, wash greens, cook a grain and portion something.
Only prepare what you can refrigerate or freeze safely. Keep raw meat, poultry, seafood, eggs and dairy refrigerated or frozen, not at room temperature, and cook them to the temperatures below before freezing.
5. Label and Store Food Safely
Label every container with the dish and the date, and put the newest at the back so older portions get used first. Cool food in shallow containers rather than one deep bowl, because a large hot mass takes hours to cool in the centre. This is the single best defence against wasting food you spent an hour making.
Cook to the safe minimum internal temperatures: 165°F for poultry, 160°F for ground meat, and 145°F for whole cuts of meat and fish. Refrigerate perishable prepared foods within two hours, or within one hour when the air temperature is above 90°F.
You have done this step when the freezer holds flat, dated, single-serving portions and the refrigerator shelf nearest you holds the food for the next two days.
6. Create a No-Cook Backup Plan
Every version of this plan needs a shelf of food that requires nothing but opening a door. Good meal planning for the first weeks after birth is mostly this shelf, honestly — the cooked food is the bonus. Keep these on hand at all times, above hip height or in the room where you feed:
- Sandwiches made in the morning and eaten whenever
- Yogurt with fruit and granola, in single cups
- Overnight oats portioned into jars
- Deli-prepared sliced meat, cheese and crackers
- Ready-to-eat cereal and milk, or fortified plant milk
- Soup from a container, sipped with a spoon from the couch
- Simple frozen options that reheat in under ten minutes
Backup meals are part of the plan, not a failure of it. New parents on forums describe 3 a.m. hunger constantly, and the meals that work then are the ones eaten cold, in pieces, or sipped without sitting up.
When to Call Your Provider Instead of a Food Question
Nutrition is general information here, not individual medical advice. Your midwife, obstetrician, pediatrician or a registered dietitian nutritionist can tailor any of this to your history, and that is worth doing if you had gestational diabetes, anemia, a C-section, a multiple birth, or difficulty establishing milk supply.
Contact your provider promptly for heavy bleeding, a fever, breast redness with fever or flu-like symptoms that suggest mastitis, a persistent exhaustion that does not improve with rest, or low mood and anxiety that last beyond two weeks. Trouble gaining weight or losing it quickly, and any concern about your own health, are reasons to call rather than to adjust your meal plan.
Common Mistakes
The most common planning mistakes are all fixable, and they share one root cause: planning for a version of yourself with more time and capacity than you actually have.
- Overplanning. Fix: plan three days and repeat them. A template you actually use beats a seven-day plan that collapses on day two.
- Buying highly perishable produce. Fix: buy greens and soft fruit for this week only, and choose frozen vegetables for anything that will wait more than a few days.
- Preparing too many elaborate recipes. Fix: cap the menu at your template plus two base meals. If a dish needs more than about ten minutes of hands-on work, take it off the list.
- Ignoring appetite changes. Fix: early appetite is often small and unpredictable. Plan smaller, more frequent portions and keep high-protein snacks within reach.
- Forgetting freezer-safe portions. Fix: freeze in single-serving sizes from the start. A large tray that needs an overnight thaw at 3 a.m. will sit there until you give up on it.
- Assuming one person will handle every meal. Fix: name the cook explicitly. If your partner returns to work at week two, build the plan around your backup shelf rather than around help that may not arrive.
If cooking is genuinely out of reach, delivery is a reasonable part of a postpartum meal plan, not an indulgence. Ask relatives for specific, portable, freezer-compatible food rather than casseroles that need reheating that same evening, and be direct about timing — most trouble comes from meals arriving at five in the afternoon or repeating the same dish all week.
Frequently Asked Questions
How many meals should I prepare for the first weeks after birth?
For a household of four eating three meals a day, aim for about 18 to 24 home-cooked meals before the birth, mostly as single-serving portions. Most families get through roughly two weeks that way, and a meal train or delivery usually covers the rest. Start smaller than you think: 12 prepared meals used completely beats 40 that get frozen solid.
Is meal planning realistic after a difficult birth or a long recovery?
Partly, and partial prep still helps. With a C-section, a complicated birth or a long hospital stay, keep the plan to two things: a stocked no-cook shelf and two base meals someone else can cook or buy. Most of the shopping and prep can happen before birth, and everything after that can be smaller. Recovery outranks the plan.
What are the easiest foods to keep on hand during the first weeks?
Keep foods that need no preparation beyond opening: yogurt cups, tinned fish, crackers, cheese, nuts, fruit, ready-to-eat cereal, bread for toast, soup from a container, and frozen meals that reheat in about ten minutes. Pre-chopped frozen vegetables cut the most time of anything on the list, since there is no washing or chopping at 3 a.m.
How long can prepared meals and leftovers be stored safely?
Cooked food kept refrigerated at 40°F or below is generally safe for three to four days, and frozen meals stay good for around three to four months. Cool food in shallow containers and refrigerate within two hours, or one hour when it is above 90°F outside. Label everything with the date, and pull out the oldest portion first.
Should partners, relatives, or doulas follow the same meal plan?
They should follow the same rules, not the same shopping list. Anyone cooking for you should know which foods reheat in under ten minutes, which portions are already frozen, and which containers go where. Doulas and postnatal helpers benefit most from a written one-page summary and a fridge shelf that is reserved for the recovering parent’s food.
Start with one shopping trip and two base meals this week, and write your three-day template on paper before you close the browser. Everything else — containers, labels, the freezer shelf — can wait a week. Reviewed for 2026, this plan is built to hold up on a bad night, not just a good one.