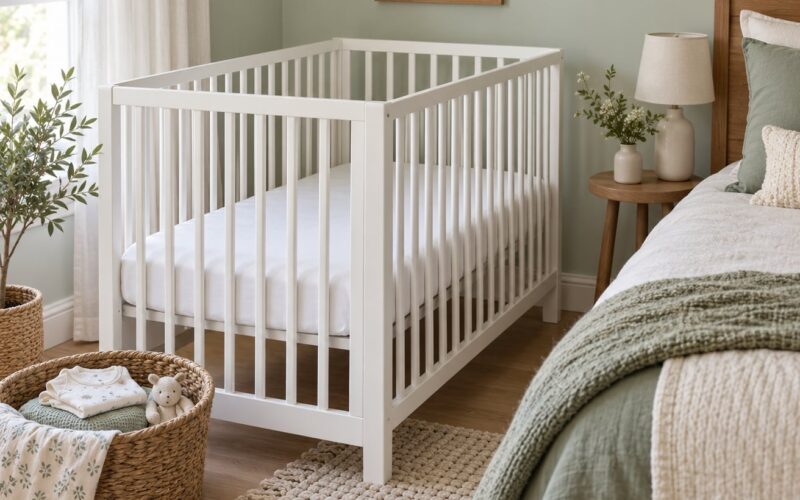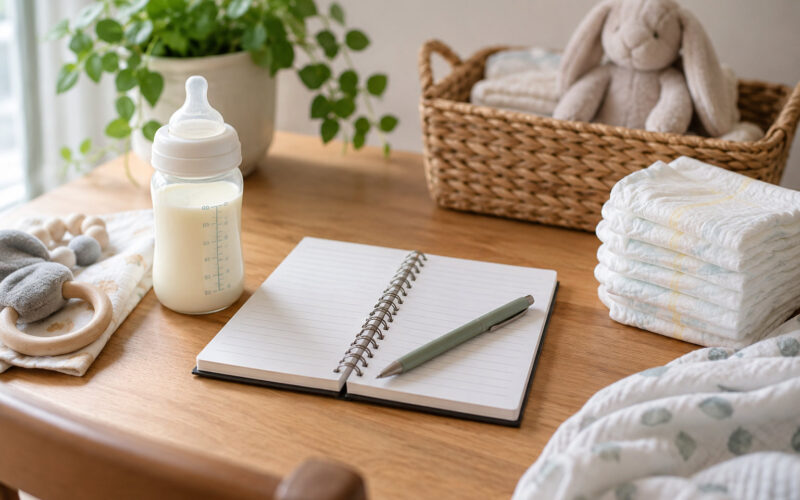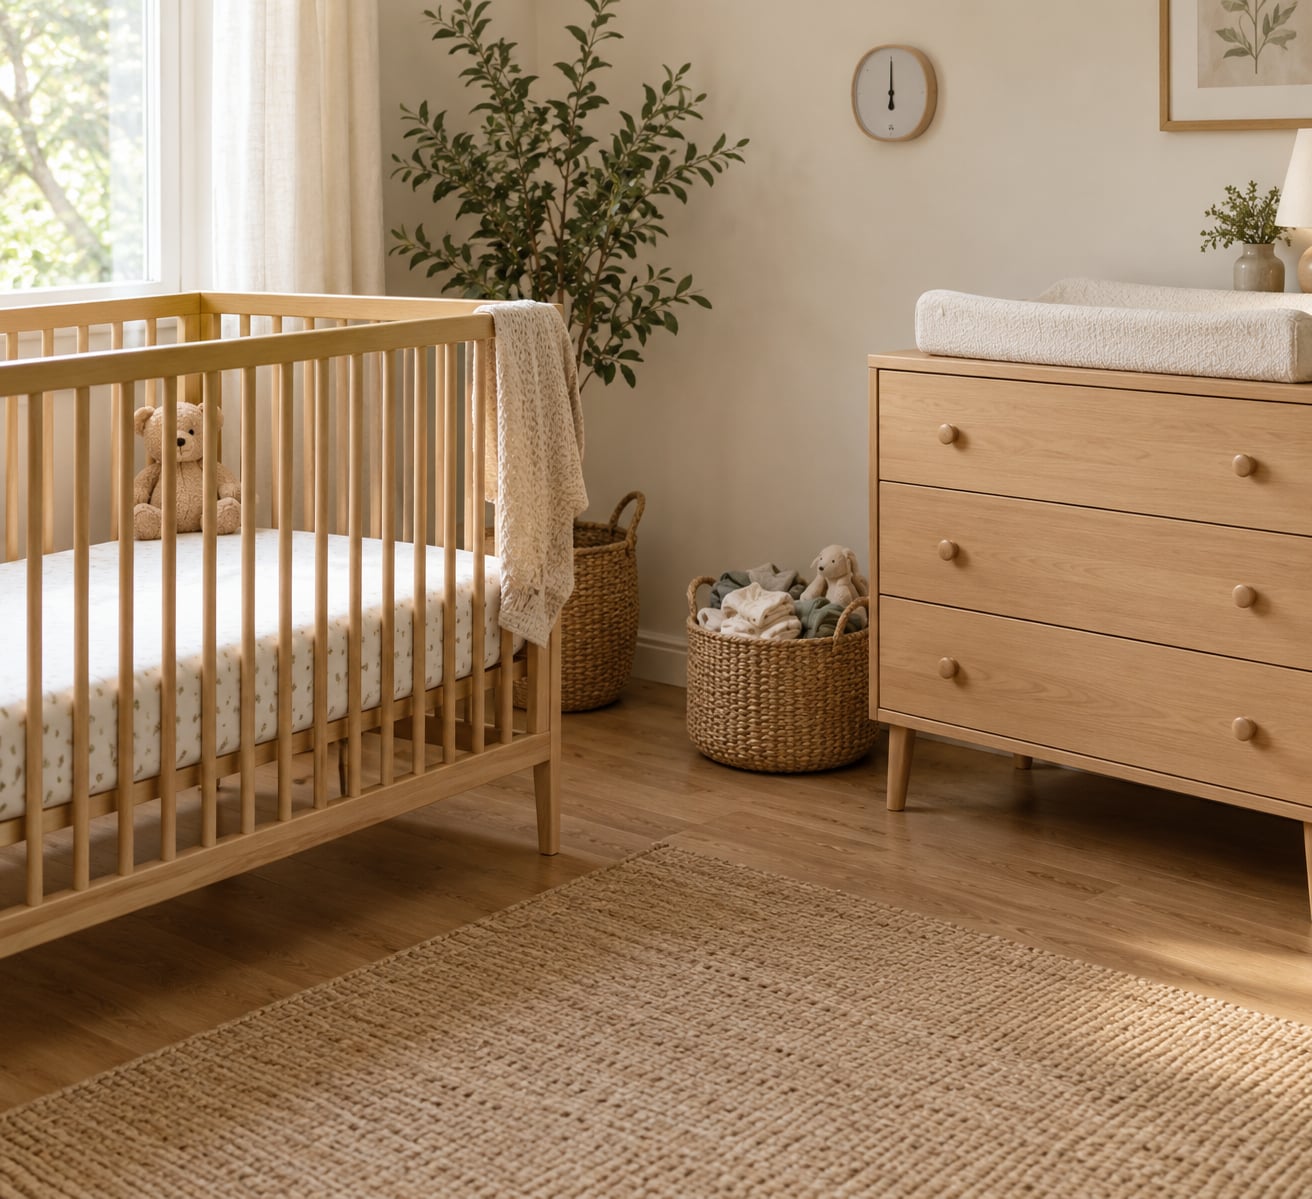
A safe nursery is a room where your baby can sleep, be changed, and play on surfaces that are firm, flat, and empty of loose items. Learning how to set up a safe nursery without extra gear takes about an afternoon, and the safety comes from removing hazards rather than adding equipment. You need a safe sleep surface with a fitted sheet, one stable surface for changes, and clear floor space. Everything else can wait.
I know the pull to finish the room before the baby arrives. Registry lists, store aisles and well-meaning relatives all suggest you need dozens of items. Most parents I talk to end up using a fraction of it, and the sleep surface does nearly all the work in the first six months.
Table of Contents
- What You Need
- How to Set Up a Safe Nursery Without Extra Gear: Step-by-Step
- Choose the sleep space before buying anything else
- Plan only the care stations you will use
- Keep the room safe and easy to maintain
- Do a final safety check before the baby arrives
- Common Mistakes
- Filling the sleep space
- Buying gear before the room is ready
- Using an adult bed or a sofa for naps
- Storing supplies within reach
- Overcrowding outlets and stacking gear
- Skipping the anchor step
- Frequently Asked Questions
- What is the minimum equipment needed for a safe nursery?
- Do I need a mobile, sleep-positioner, or baby monitor?
- What should I keep near the changing area?
- How warm should a newborn’s room be?
- Can I use second-hand furniture for the nursery?
- Do I need to finish the nursery before the baby is born?
- Conclusion: What to Do First
What You Need
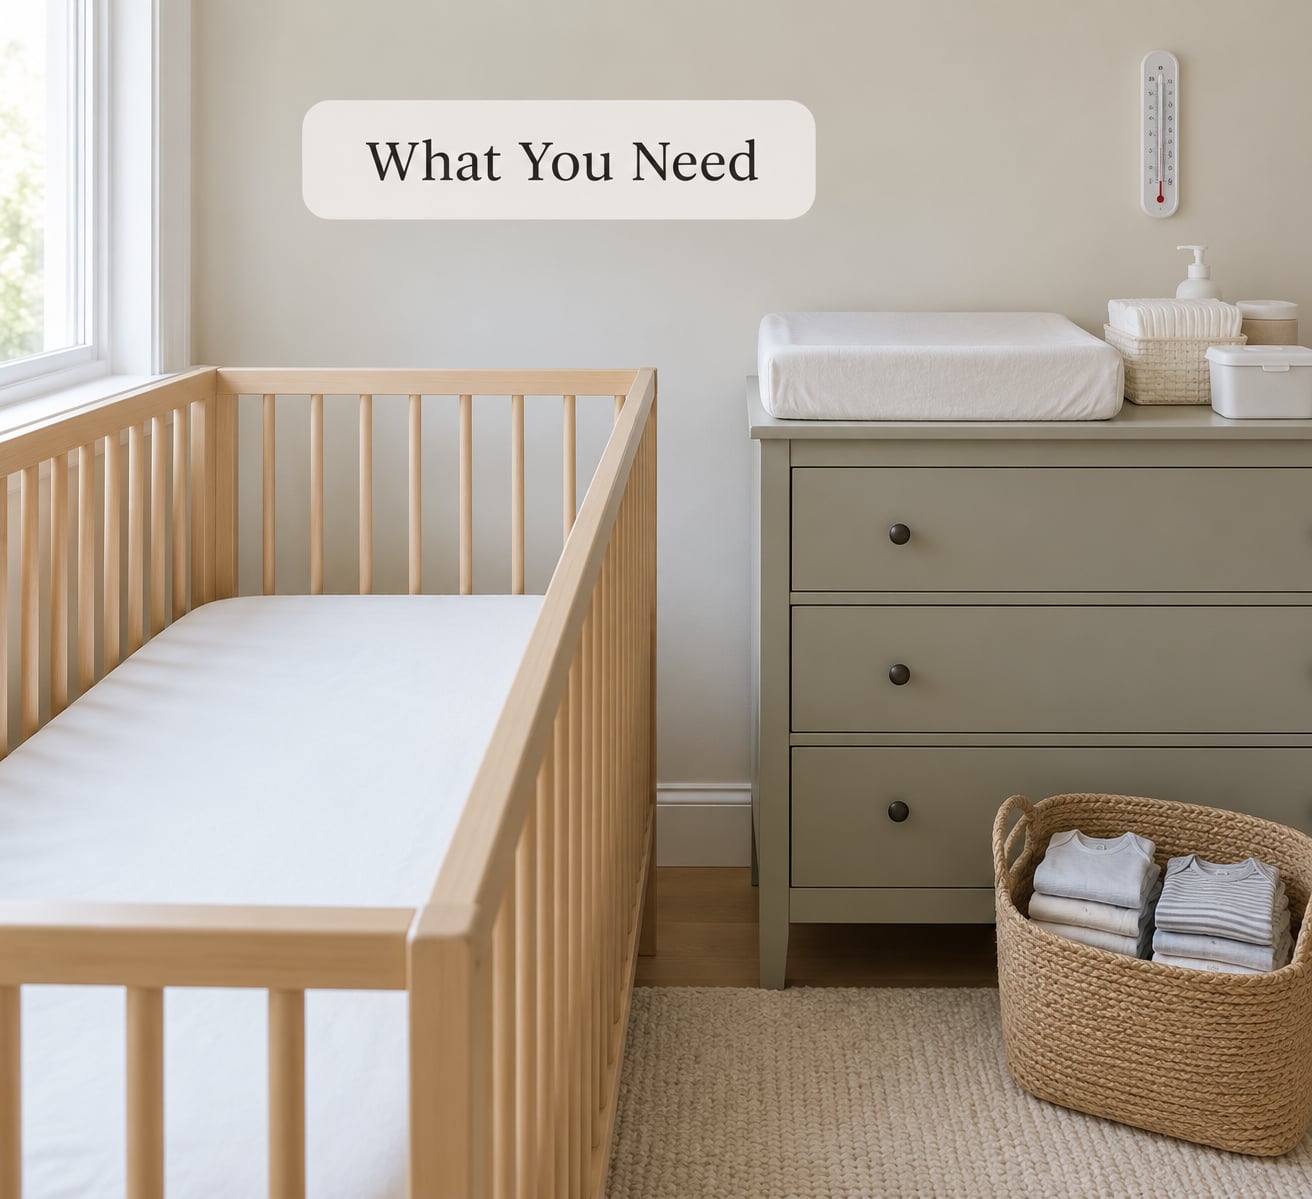
Six things carry nearly all the safety weight in a nursery. Everything beyond this list is convenience, decoration, or something you will use for a few months and then store in a garage.
- A firm, flat, separate sleep surface with a tight-fitting fitted sheet
- One stable surface at waist height for diaper changes
- A clear path from the doorway to the sleep space for night transfers
- Furniture anchored to the wall so it cannot tip
- Window blind cords and outlet covers placed out of reach
- A thermometer, so you can keep the room at a comfortable temperature
Now the part that makes this easier. Skip the mobile, the sleep positioner, the nest, the weighted blanket, the baby nest pillow, the sound machine, the bottle warmer, the wipe warmer and the diaper pail. None of them are required for a safe nursery, and several are actively risky in a sleeping baby.
Parents on parenting forums describe the same pattern repeatedly: the room looked finished for months while the baby slept in a bassinet beside the bed and the nursery stayed unused. That is normal, and it means you can set up the essentials first and decorate when you feel like it.
How to Set Up a Safe Nursery Without Extra Gear: Step-by-Step
Choose the sleep space before buying anything else
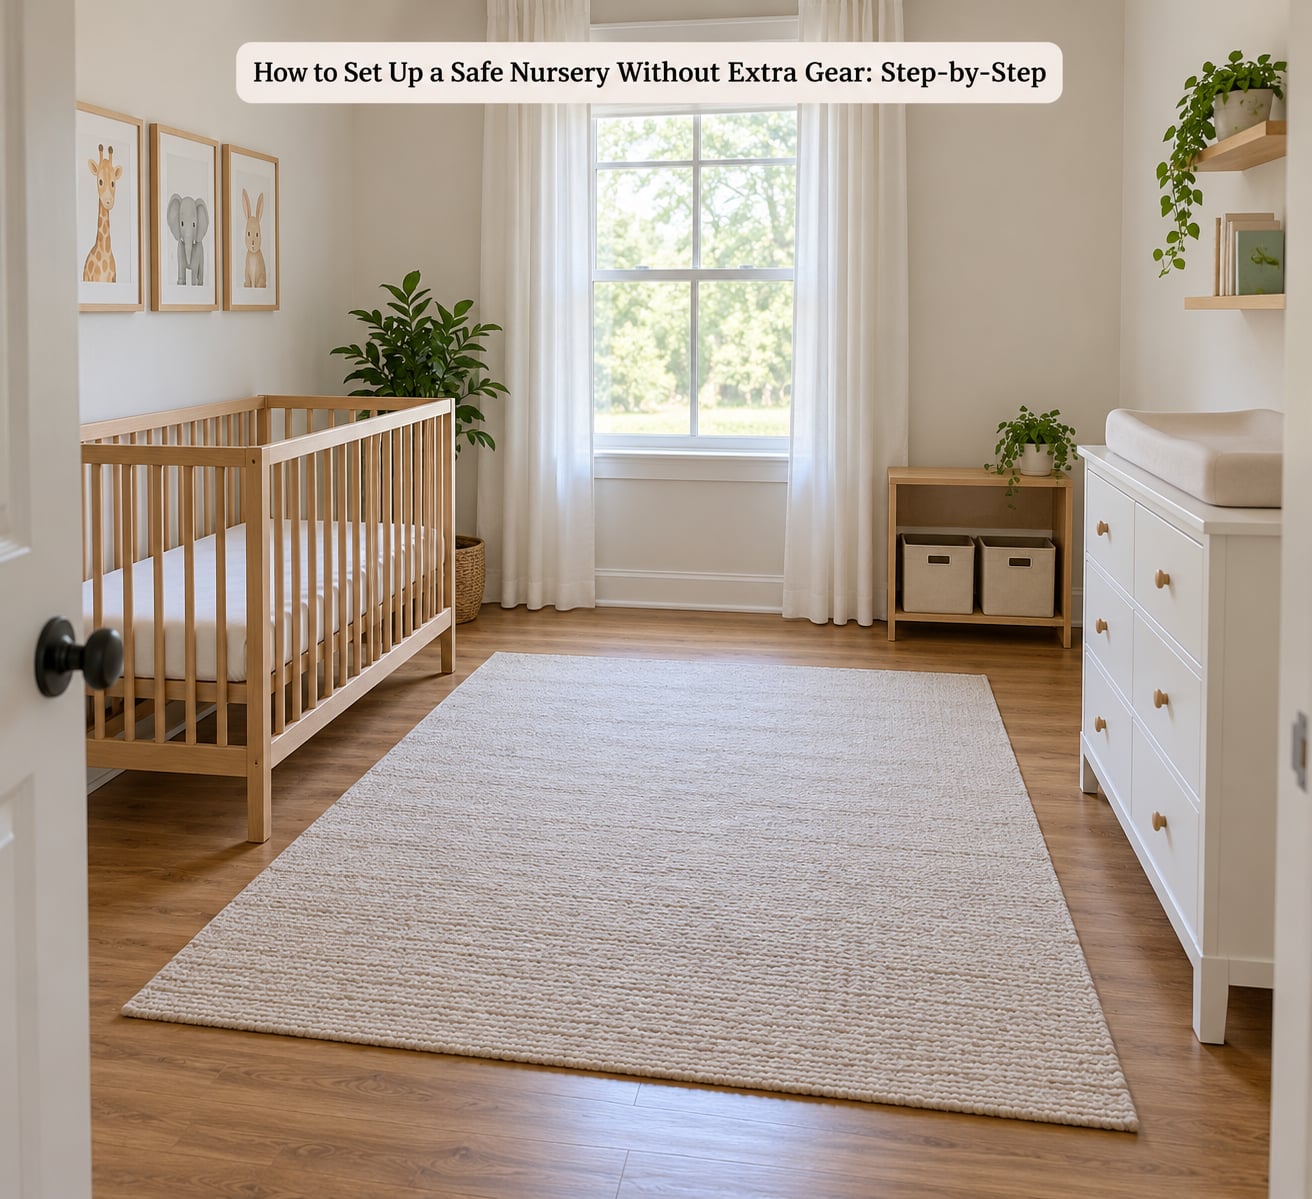
The sleep surface is the only item in the room with a real, evidence-based safety function. A crib, bassinet or play yard approved for infant sleep works, as long as the mattress is firm, flat and snug in the frame, and the only thing on it is a sheet that fits tightly enough that you cannot tuck a finger under the edge.
Follow the ABCs of safe sleep: Alone, on Back, in a Crib or bassinet or play yard. Every nap counts, not just nighttime. Room-sharing in your own bed, on a separate surface, for at least the first six months lowers sleep-related death risk, and returning your baby to their own sleep space after a feed or a cuddle keeps it that way.
Nothing else belongs in there. No blankets, no pillows, no bumper pads, no stuffed animals, no lovey with a satin edge, no positioner or wedge, and no inclined product of any kind. If you use a swaddle, it goes on before the baby is down and stays on, and weighted sleep products have no place in a baby’s bed.
If your crib has drop sides, check the hardware and the recall history before use. Drop-side cribs with a lower rail that can drop below the mattress line have been recalled, and a crib with any recall history should not be used, even if it looks fine. A fixed-side design or a firm flat play yard surface is the safer alternative.
One thing worth saying plainly: monitors and smart socks do not prevent SIDS. They are helpful for reassurance and for hearing a baby through a wall, but they do not change the risk factors, which are soft bedding, an inclined or nested sleep product, and an unstable surface.
Plan only the care stations you will use
Two stations, both simple. A feeding spot near a chair where you can support your back and reach what you need with one hand, and a changing spot at a height you can stand at comfortably while keeping a hand on your baby.
A dresser with a thin changing pad on top is the most flexible option and it grows into diaper storage later. A dedicated changing table is not required, and it is worth remembering that a low dresser with a pad is easier to keep in one hand than a tall table you are reaching over. Keep one hand on your baby at all times, never turn away mid-change.
What you actually need near the changing area is a small stack of diapers, wipes within reach, a changing pad, a burp cloth or clean shirt for surprises, a diaper disposal method, and a washable mat for the floor. Keep it in one basket so the setup survives a 3 a.m. change half-asleep.
Use what you already own. A nightstand holds the changing supplies in a small apartment. A laundry basket next to the dresser handles dirty clothes and doubles as toy storage later. A lamp with a warm bulb replaces the night-light gadget. For safe sleep beyond the room, you still want one carrier or wrap that you can put on alone with one hand.
Keep the room safe and easy to maintain
Do the audit sitting on the floor at baby height, looking up. Most hazards hide at the level of a newborn’s eyes. You will spot dangling cords, low outlets, unstable shelves and gaps behind furniture that you would miss standing up.
Then work through the room. Anchor dressers, bookshelves and any tall piece to the wall with straps or L-brackets, since a climbing toddler can pull on a drawer or a shelf and take the whole thing over. Keep blind cords and curtain tiebacks secured up and out of reach, tie loose cords from lamps and white noise devices, and cover unused outlets with sliding plate covers rather than the small plug-in caps a child can pull out.
Storage is where most of the extra gear tries to sneak back in. Put clothes, blankets and diapers where you can reach them with one hand, but nothing small enough to fit in a fist should sit within arm’s reach of the crib. Keep the floor clear for tummy time, because that clear floor is the play space for the next year.
Temperature matters more than any monitor. Keep the room around 68 to 72 degrees Fahrenheit, dress the baby in one more layer than you would wear yourself, and check the room rather than the baby’s hands or feet, which are unreliable indicators. A wall thermometer is the only tool you need here.
For materials, the free upgrades are real. Air out new fabric, mattresses and foam for a day or two before they go near the baby. Choose low-VOC or zero-VOC paint, open a window when you paint, and vacuum with a HEPA vacuum if your home was built before 1978 or has older paint that might contain lead. If you are still pregnant when you paint, better to have someone else do it.
Do a final safety check before the baby arrives
Run this in order, and it takes about ten minutes. Scan from the floor upward, anchor everything tall, clear the floor and every reachable surface, then swap the remaining hazards.
- Sleep surface: firm, flat, tight, empty except for a fitted sheet, hardware intact, no recalls
- Anchors: dressers, bookshelves and media units strapped to studs
- Cords: blind cords high and tied, lamp cords managed, no extension cords near the sleep area
- Outlets: covers on every unused outlet, no overloaded power strips
- Reach: nothing small, breakable, chokable or chewable within arm’s reach of the crib or floor
- Temperature: thermometer working, room reading 68 to 72 F
- Path: clear floor from the door to the sleep space for night transfers
If you are accepting second-hand or hand-me-down gear, check recalls for the model before you trust it, and inspect the mattress for dents, sagging or a soft spot. Skip anything made before 1978 or painted with an unknown finish, and pass on any piece with missing hardware, cracks, or a wobble you cannot fix.
Finally, know your local emergency number and put it on the wall by the door, and decide in advance who handles the 3 a.m. shift. Most of the safety work in this room is done in one afternoon. The rest is just keeping it that way.
Common Mistakes
Almost every problem I see in a nursery room comes from one of these.
Filling the sleep space
The most common one, and the most dangerous. Looveys, blankets and positioners end up in the crib because the room looks bare. Keep it bare. Anything in that crib at sleep time raises the risk of suffocation and entrapment, and none of it is needed for a baby under a year old.
Buying gear before the room is ready
The room does not have to be finished before the baby comes home. Set up the sleep surface, the changing spot and the anchored furniture, and let the rest follow your actual routine instead of a checklist.
Using an adult bed or a sofa for naps
Adult beds and couches are soft surfaces with gaps and edges, and babies die on them every year. If you fall asleep during a feed or a cuddle, put the baby down in their own sleep space first.
Storing supplies within reach
A basket of small items at crib height will eventually be explored by a reaching hand. Move diaper and clothing storage away from the sleep surface, and put heavy bins on the floor or on low shelves only when nothing heavy sits at the top.
Overcrowding outlets and stacking gear
Power strips behind a dresser with several items plugged in are a fire risk. Use one outlet per item, and keep nothing heavy on the top surface of a dresser where it can be pulled down.
Skipping the anchor step
Unanchored furniture is the hazard that injuries most often come from, and anchoring takes one bracket and ten minutes per piece. Do it before the baby is mobile and it stays invisible.
If you are still deciding what to skip, these are the gear parents ask about most, why it fails, and the free substitute that already works.
- Mobile, projector or musical night-light: cords and small parts within reach of a baby who pulls up to stand. Mount it high, or skip light-up entertainment entirely.
- Sleep positioner, nest, lounger or inclined sleeper: soft or angled surfaces increase suffocation and rebreathing risk. A firm flat mattress with a fitted sheet does the same job safely.
- Weighted sleep products and undersized sleep sacks: not recommended for infants and unsupervised sleep. Use a plain swaddle before the four to five month mark, or a sleep sack sized by weight.
- Baby monitor or smart sock: does not prevent SIDS and can pull your attention away from safe sleep practice. The ABCs, anchored furniture and a clear room are the actual safeguards.
- Dedicated changing table with storage: a taller surface with more to fall from, and the dresser does the same function. Use a dresser with a changing pad and nothing stored underneath.
- Nest pillows and body pillows: soft objects in the sleep space. Nothing replaces them, because an empty sleep surface is the standard.
Frequently Asked Questions
What is the minimum equipment needed for a safe nursery?
Six items do the work: a firm, flat, separate sleep surface with a tight-fitting fitted sheet, one stable surface at waist height for changes, a clear path from the door to the sleep space, anchored furniture, secured blind cords and covered outlets, and a thermometer to keep the room around 68 to 72 F. Everything else is decoration or short-term convenience.
Do I need a mobile, sleep-positioner, or baby monitor?
No, and none of the three belongs in a sleeping baby’s space. A positioner or nest adds a soft or angled surface, which raises suffocation risk. A mobile adds cords and small parts within reach of a baby who starts pulling up. A monitor is useful for hearing a baby through a wall but does not prevent SIDS, so treat it as reassurance rather than safety equipment.
What should I keep near the changing area?
Keep one basket within arm’s reach with a small stack of diapers, wipes, a burp cloth or clean shirt, and a washable mat for the floor. Use a dresser with a changing pad instead of a tall table if you can, and keep one hand on your baby at all times. Nothing small enough to fit in a fist should sit on the changing surface.
How warm should a newborn’s room be?
Keep the room between 68 and 72 degrees Fahrenheit, which you can check with a simple wall thermometer. Dress your baby in roughly one more layer than you would wear yourself. Judge the room rather than the baby’s hands or feet, since both are unreliable ways to tell whether a baby is too warm.
Can I use second-hand furniture for the nursery?
Yes, with checks. Look up the model for recalls before you use it, especially any crib with drop sides, and inspect a used mattress for dents, sagging or a soft spot. Pass on furniture made before 1978 or with an unknown paint finish, and skip pieces with cracked joints, missing hardware or a wobble you cannot fix. Anchor whatever you keep to the wall.
Do I need to finish the nursery before the baby is born?
No. Most babies spend the first months sleeping in a bassinet beside their parents, so set up the sleep surface, the changing spot and the anchored furniture first. Decorate after the newborn months settle, when you know what you actually use. A half-finished but hazard-free room is safer than a finished room full of gear you cannot put away.
Conclusion: What to Do First
Start with the sleep surface, a fitted sheet and an empty crib. Add one dresser or table for changes with the supplies in a single basket beside it, anchor the tall furniture, secure the cords and cover the outlets, then clear the floor.
That is the whole setup. Learning how to set up a safe nursery without extra gear comes down to removing what can go wrong rather than buying more, and it makes the room safer on day one, whether or not it is finished. When you want more detail on sleep practices and newborn safety, talk with your pediatrician or your midwife, and follow current guidance from the American Academy of Pediatrics.