When to switch car seat stages comes down to two things: hitting the height and weight limits on the label of the seat you already own, and having the maturity to sit correctly in the next one. A second birthday, a bigger-looking child, or a well-meaning grandparent are not triggers. In most cases that means a child stays rear-facing to 2, 3 or even 4 years, rides in a forward-facing harness until that seat’s limits are reached, then moves to a belt-positioning booster, and finally to the vehicle seat belt only when they can pass a five-step fit test.
This guide walks through each of those transitions in order, what actually changes in the harness, and what to check every time. If a number here ever disagrees with the label on your seat, the label and the manufacturer’s manual win. Always.
Table of Contents
- What Are the Three Main Car Seat Stages?
- When Should You Move from Rear-Facing to Forward-Facing?
- How do I know when to turn a rear-facing seat forward?
- What if the child looks cramped with their legs bent?
- When to Switch Car Seat Stages: Forward-Facing Harness Details
- What to check before every forward-facing ride
- When Should You Move from a Harness to a Booster?
- High-back or backless?
- When Can a Child Use the Vehicle Seat Belt Safely?
- How Do You Check That the Child Fits at Each Stage?
- Rear-facing
- Forward-facing
- Booster
- Vehicle seat belt
- What If Your Child Outgrows a Stage Before They Are Ready?
- Frequently Asked Questions
- Can my child move to the next car seat stage early?
- How do I know when to turn a rear-facing seat forward?
- Is a booster safer than a forward-facing harness?
- What are the signs my child is ready for the vehicle seat belt?
- How often should I check that the car seat fits correctly?
- Conclusion
What Are the Three Main Car Seat Stages?
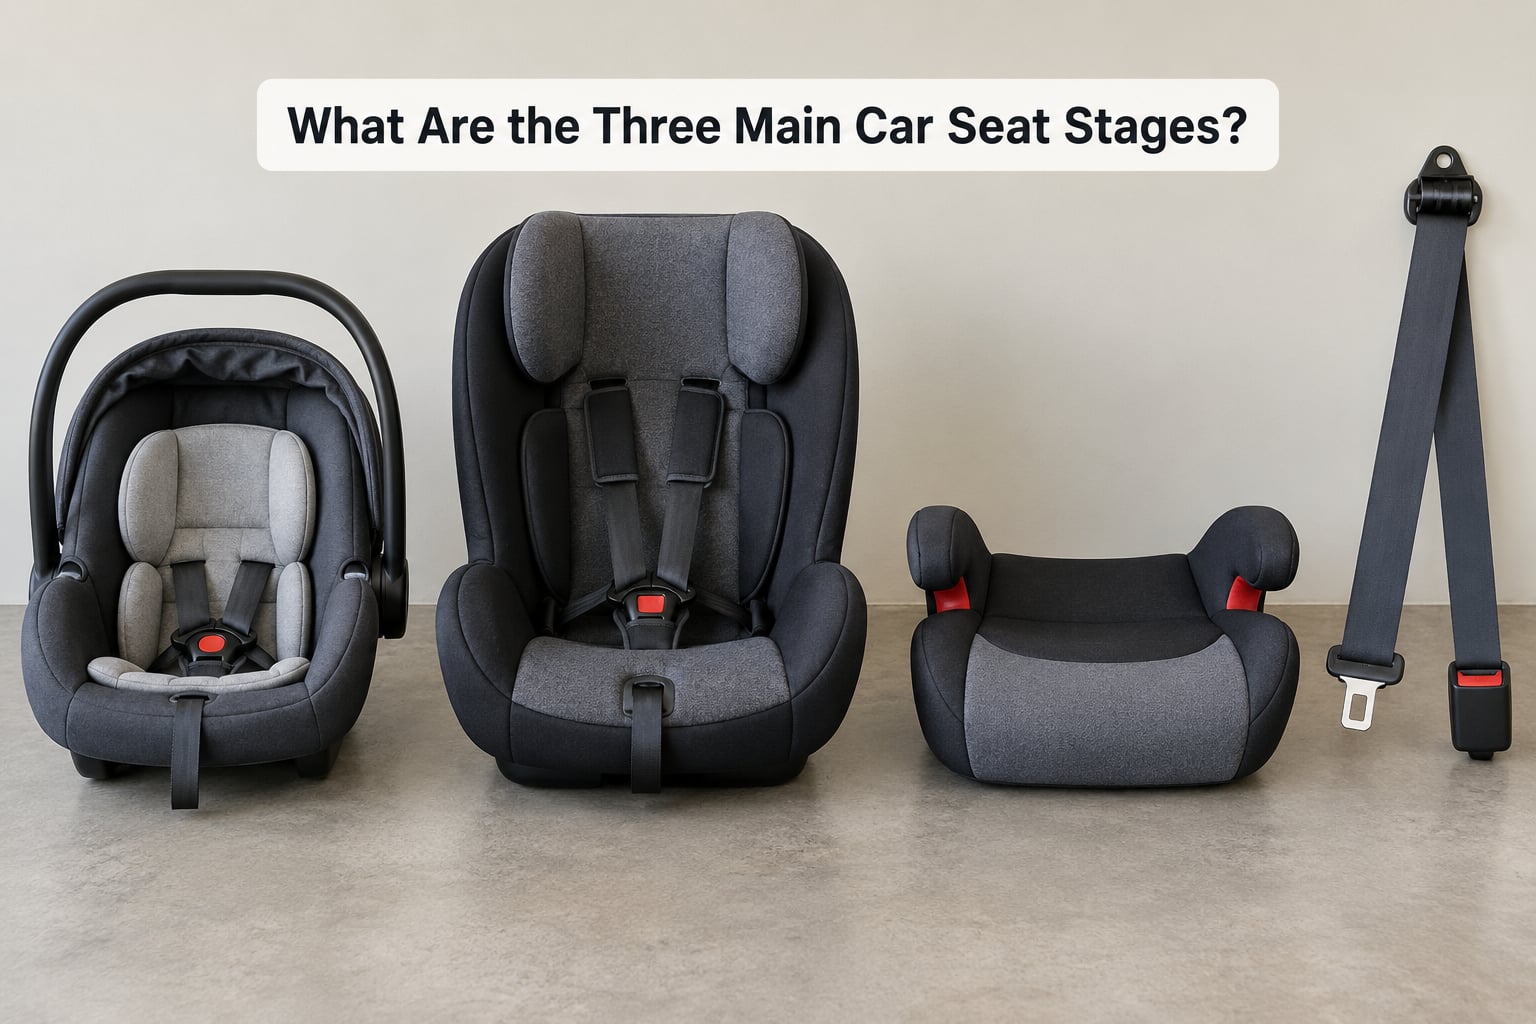
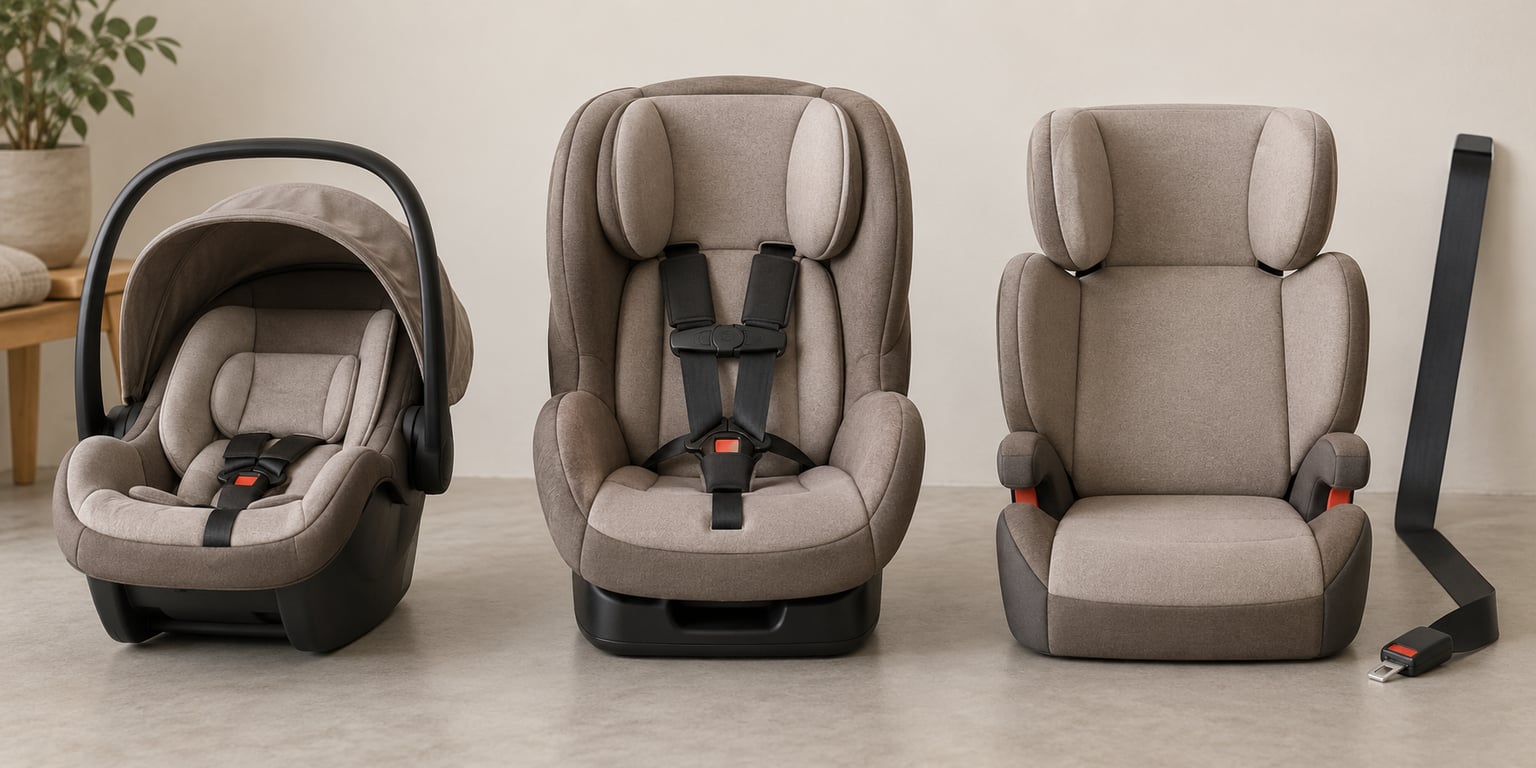
There are three car seat stages, followed by a fourth stage that involves no seat at all: the vehicle seat belt on its own. The three seated stages are rear-facing, forward-facing with a harness, and belt-positioning booster.
Each stage exists because your child’s body changes shape. A restraint that fits properly in one stage stops protecting properly in the next, which is why the switch is a fit decision rather than a birthday party.
| Stage | Roughly this age | Weight | Height | Restraint used | Readiness cue |
|---|---|---|---|---|---|
| 1. Rear-facing seat | Birth to 2 years or beyond | Up to the seat’s rear-facing maximum, often 40 to 50 pounds | Until the head is within 1 inch of the top of the shell | 5-point harness, straps at or below the shoulders | Reached the maximum height or weight limit for rear-facing use |
| 2. Forward-facing harness | Typically 2 to 5 or 6 years | To the seat’s forward-facing harness maximum | To the top of the seat’s forward-facing use zone | 5-point harness with the upper tether, straps at or above the shoulders | Maxed out harness limits and can sit upright for the whole ride |
| 3. Belt-positioning booster | Typically 4 to 8 or 10 years | About 40 pounds and up | About 44 inches and up, until the belt fits properly | Vehicle lap and shoulder belt, positioned by the booster | Passes the five-step seat belt test in the actual car seat |
| 4. Vehicle seat belt | Usually 8 to 12 years | When the belt fits well on the body | Usually around 57 inches, varies by child | Adult three-point seat belt, worn correctly | Belts sit low on the hips and mid-chest, knees and shoulders against the seat |
Treat the age and measurement columns as a map, not a schedule. Children grow at very different rates, and the same seat can take one child to age 3 and another only to age 2. The two numbers printed on the label of your specific seat are the only ones that decide the timing.
When Should You Move from Rear-Facing to Forward-Facing?
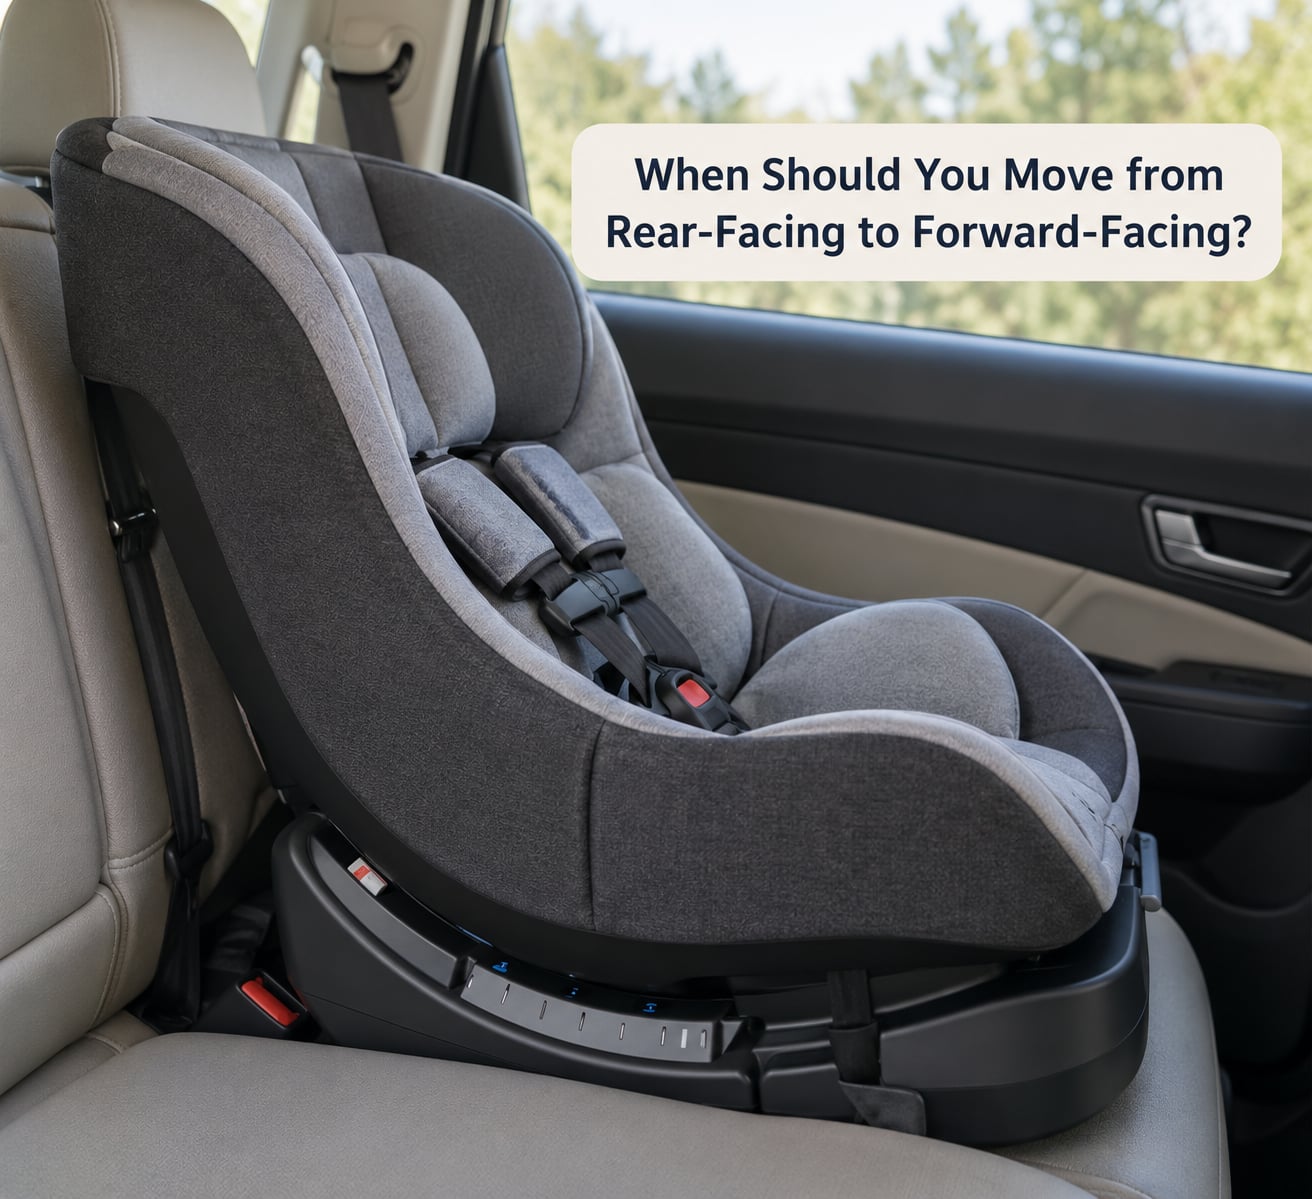
Move forward when your child has reached the maximum height or weight limit for rear-facing use on that seat, whichever comes first. Not at age 2. The American Academy of Pediatrics recommends rear-facing until a child hits the limits of the seat, and the National Highway Traffic Safety Administration agrees.
The reason is structural. A child’s head is proportionally large and heavy, and the neck and spine are still forming. Rear-facing, a crash loads the back of the head and the whole body together, spreading the force across the seat shell. Turned forward, the same force drives the head forward while the body is held back by the harness, which is exactly the motion a neck is least built to tolerate.
How do I know when to turn a rear-facing seat forward?
Check the label on the seat shell first, then the manual. Most convertible seats list a rear-facing maximum weight and a head-height limit, and the head-height limit is usually the one that catches families out.
The practical cue parents use, and the one child passenger safety technicians repeat, is one inch of clearance. When your child’s head is within about an inch of the top of the shell, the seat has no room left to support the head in a rear-facing crash, and the harness height will soon run out of slots below the shoulders.
Two other checks matter. Look at the harness from behind: the straps should sit at or below the child’s shoulders rear-facing, and the chest clip should land at armpit level. If the straps are already above the shoulders in the rear-facing position, the seat is effectively done in that direction.
Finally, confirm the recline. Most rear-facing seats have a recline indicator on the base, and a child who cannot hold their head up needs the more upright settings.
What if the child looks cramped with their legs bent?
This is the single most common reason parents turn a seat early, and it is almost never the right reason. Bent or cross-legged positioning in a rear-facing convertible seat is normal and safe, and the “crisscross” position many parents google and worry about is actually comfortable for most children. Space for the legs is not the same as room for the head and neck.
The two stages that get confused are the infant carrier and the convertible seat. Infant carriers have a small shell and a short rear-facing range, so most children outgrow them between 6 and 12 months. That is not a stage change, it is a change of seat model: move to a convertible or all-in-one seat installed rear-facing and stay there. Because infant carriers are also the seats most often used incorrectly at a discount counter, many families skip them entirely and start with a convertible seat from the hospital ride home.
When to Switch Car Seat Stages: Forward-Facing Harness Details
The forward-facing stage starts when the child is out of the rear-facing limits and you rotate the seat or install a new one facing forward. The restraint is still a 5-point harness, which is the point: a harness keeps a young child positioned as if they were properly belted, while a booster relies on the child holding that position themselves.
For a child who is not ready to sit correctly in a booster, staying in the forward-facing harness measurably lowers injury risk. This is the stage parents push through fastest, usually because the child looks enormous in a forward-facing seat. Size perception is unreliable in a mirrorless back seat.
What to check before every forward-facing ride
- Harness height. In the forward-facing position the straps must sit at or above the child’s shoulders. If they sit below, move the harness to a higher slot, or check whether the seat offers a height-adjustable headrest.
- Chest clip. At armpit level for the torso, not at the neck or the stomach.
- Crotch strap. The buckle sits snug at the crotch, with no gap big enough to twist.
- Pinch test. Pinch the harness at the shoulder. If you can grab a fold of webbing, tighten until you cannot. Do this every single ride, because harness height changes with sweaters, jackets and growth.
- Upper tether. Anchor it every time. It cuts forward movement in a crash and is the single most forgotten step at this transition.
- Recline. Follow the indicator for the vehicle seat. Many forward-facing seats need an angle block or a pooled towel on the floor to achieve the correct recline in a flat bench seat.
Stay in this stage until the child reaches the seat’s forward-facing maximum height or weight. Those numbers are frequently lower than parents assume, and once a child is close to them, the child often also loses the ability to buckle reliably and hold still.
When Should You Move from a Harness to a Booster?
Move to a belt-positioning booster when your child has reached the forward-facing harness limits of that seat and can sit upright, stay buckled, and hold the position for a full trip without slouching or sliding out of the straps. Maturity is a real requirement here, not a checkbox.
Many children meet the size limit well before they meet the maturity one, which is why a forward-facing harness that converts is useful. An all-in-one seat runs rear-facing, then forward-facing with a harness, then forward-facing as a booster. Using the same seat through all three stages means no gap where you are shopping, and no risk of a rushed purchase landing you in the wrong seat.
A harness booster is not a high-back booster. It uses a vehicle belt like a booster does, but keeps the child in a five-point harness at the same time. It is a good middle option for a child who has maxed out one harness seat but is not ready for an open booster.
High-back or backless?
A high-back booster guides the head and shoulders and works in a vehicle with a poorly fitting seat belt, a low seat back, or a sliding second-row seat. A backless booster raises the child so the adult belt fits better but offers no head or back support.
The deciding factor is the vehicle, not the child. Put the belt on your child in the actual car seat, in the actual position they will ride in. If the shoulder belt falls across the face or the lap belt rides over the stomach, you need a high-back booster or a different seating position. Many cars have a built-in booster positioning system, and using it is worthwhile once your child is in the right size range.
Vehicle choice also affects the age question. Guidance generally holds children in the back seat until at least age 13, because the front seat is where airbags deploy and a child needs to be large enough to sit properly for one. Law varies by state and country, and some states set lower ages.
When Can a Child Use the Vehicle Seat Belt Safely?
When your child can pass the five-step test in the seat they will actually ride in, every time. Belt fit is about the fit, not the birthday.
- Lap belt low. It sits across the upper thighs and the hip bones, snug, never across the stomach or the waist.
- Shoulder belt crosses the chest. It runs over the collarbone and the middle of the shoulder, not off the shoulder and not across the neck or face.
- Knees and shoulders against the seat back. With the belt buckled, the child should be able to bend their knees over the edge of the seat and rest their shoulders flat against the back.
- No slouching. The child should be able to hold this position, not slump down or lean forward out of it.
- Stays buckled for the whole trip. Consistent belt use is the fifth test, and it is a behaviour, not a measurement.
Adult three-point belts are engineered for adult body proportions. On a child who is too small, the lap belt rides over the abdomen, which is a risk in a crash, and the shoulder belt often lands outside the shoulder. A booster is not an optional comfort item for a child under this size; it is what makes the adult belt fit the way it was designed to fit.
Back to the beginning of the sequence, the same principle applies at every handover. Answering when to switch car seat stages well means answering it on the size and behaviour of your own child, in your own car, on the day it matters, and being willing to stay put when the answer is not yet.
How Do You Check That the Child Fits at Each Stage?
Run the fit check whenever something changes: a new stage, a new vehicle, a growth spurt, a thicker coat season, or a new person driving. It takes two minutes.
Rear-facing
Straps at or below the shoulders, chest clip at armpit level, snug at the shoulder with no pinch-test fold, crotch strap snug at the body, head within the seat’s height zone, and correct recline per the indicator.
Forward-facing
Straps at or above the shoulders, chest clip at armpit level, pinch test clean, upper tether connected and tightened, head within the forward-facing zone, and the child buckled in and staying buckled.
Booster
Vehicle belt low on the hips and across the collarbone, child able to hold the position, booster positioned so their ears are roughly level with the top of the booster’s head support, and nothing under them that lifts the belt away from the body.
Vehicle seat belt
All five steps of the test above, in the back seat, in the seat position they will use every day.
A few habits make the difference. Check the fit in every vehicle the child regularly uses, because a second car or a grandparent’s car often has a different seat shape and a different belt path. Make adjustments instead of compensating: no body inserts, no rolled towels, no thick jackets under the harness. And re-tighten the harness rather than the strap adjuster every time you buckle them in, because children shift in their seats.
What If Your Child Outgrows a Stage Before They Are Ready?
Outgrowing means hitting the maximum height or weight on the label, whichever comes first, plus a fit that no longer works. A child can outgrow rear-facing height before age 2, and that is the moment most families find their convertibles. The answer is a seat with a taller rear-facing zone, not a turn forward.
Long-range rear-facing convertible seats take children well past the usual limits, which is why they come up so often in parent forums when a child tops out early. If your child is genuinely too tall for every rear-facing option available to you, talk to a certified child passenger safety technician before turning forward, because the label on the seat is the last word on safety and the technique matters as much as the model.
Other situations need individual advice rather than a stage rule. Children born prematurely or with low muscle tone, medical restrictions, or a neck or back condition may need a seat or positioning chosen with a pediatrician and a technician together. Do not use a home modification or a positioning product without that input.
Two checkpoints get missed between stages. The first is expiration: seats carry a manufacture date and most have a service life of around six to ten years depending on the model, so check the label. Buy secondhand only if you can confirm the manufacture date, that it has never been in a crash, and that all parts and the manual are present. The second is crashes: a seat involved in a moderate or severe crash, or one with a deployed airbag, should be replaced rather than reused, and in many cases the seat is no longer trustworthy even if it looks fine.
CPSTs are the free, specific help most families never use. Many hospitals, fire stations and police departments run inspection events, and NHTSA maintains a locator for certified technicians and inspection stations, so you can have the actual install checked in your actual car rather than guessing from a video.
Frequently Asked Questions
Can my child move to the next car seat stage early?
No. Every authority on child passenger safety, including the American Academy of Pediatrics, says to keep a child in the current stage until they reach the maximum height or weight limit printed on that seat. Moving early to look grown up, to stop a fussy child complaining about bent legs, or to please another caregiver trades a real restraint benefit for a social milestone. Bent legs rear-facing are normal and safe, and the head and neck are what need the room. If a seat feels too small, the answer is a seat with a higher limit, not an earlier stage.
How do I know when to turn a rear-facing seat forward?
When your child has reached the maximum height or weight limit for rear-facing use on that seat, whichever comes first. Most families also use one inch of head clearance as the physical cue: when the top of the head is within about an inch of the top of the shell, there is no room left to support it in a crash. Confirm with the harness straps sitting at or below the shoulders in the rear-facing position, and with the label and manual for your specific seat.
Is a booster safer than a forward-facing harness?
For a young child who cannot sit correctly and hold still, no. A forward-facing five-point harness keeps the child positioned as though properly belted, while a booster depends on the child maintaining that position. If your child is at the harness limits but still slouches, unfastens, or cannot stay seated, staying in a convertible or harness booster is the safer choice. A belt-positioning booster becomes the right stage once the child is physically ready to use the vehicle belt correctly.
What are the signs my child is ready for the vehicle seat belt?
They can pass the five-step test in the seat they will ride in: the lap belt low on the hips and upper thighs, the shoulder belt across the collarbone and chest, knees and shoulders against the seat back, no slouching, and staying buckled for the entire trip. Until all five hold consistently, keep using a booster. Test in the actual back seat, because a belt can fit in one position in a car and not in another.
How often should I check that the car seat fits correctly?
Check the harness and buckle at the start of every single ride, since children shift and clothing changes the fit. Do a fuller check whenever something changes: a new stage, a growth spurt, a new car, a new driver, a thicker clothing season, or any seat adjustment. Re-read the manual and re-verify the install after any hardware move, and get a free inspection from a certified child passenger safety technician if anything feels off or you are unsure.
Conclusion
Stay in the stage you are in until your child reaches that seat’s stated height and weight limits and fits correctly in it, then move up exactly one stage. Rear-facing to the rear-facing limit, harness to the harness limit, booster until the five-step test passes, seat belt after that.
Read the label on your seat, read the vehicle manual, and check current NHTSA and AAP guidance, because laws differ by state and change. When fit or development leaves you unsure, book a free check with a certified child passenger safety technician or raise it with your child’s pediatrician. That single appointment answers most of the questions families argue about for years.