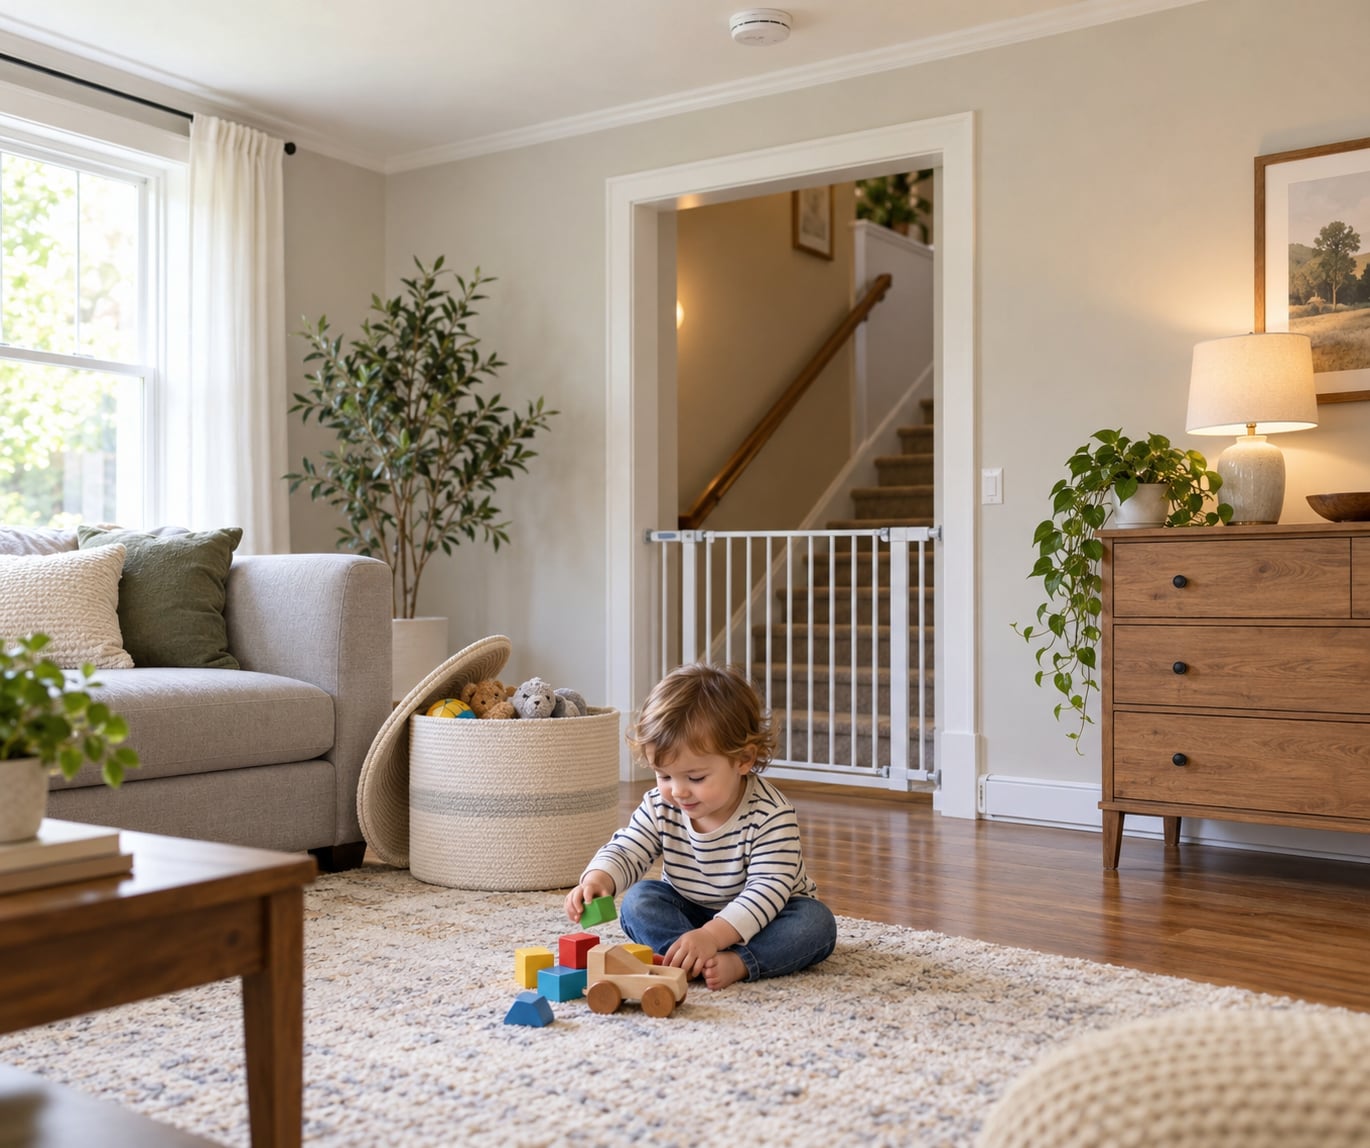
Childproofing a home room by room means walking each space at your child’s eye level, listing everything they can reach, pull, climb, tip, choke on, burn on or drown in, then fixing each hazard with one of four moves: move it, lock it, anchor it, or change the routine. Most families finish a whole house in an afternoon, then re-audit every few months as new skills arrive.
The order matters more than the shopping list. Home injuries to children under five cluster in a handful of predictable spots, and most of those spots are fixable in an afternoon without turning your house into a padded cell.
If you only have time for one session, start here. These are the eight hazards I would address first, in this order:
- Medication — locked in a high, latched cabinet, never a purse or bedside drawer.
- Water — toilets locked with a lid lock, buckets and coolers emptied, bathtubs and water tables left empty after use.
- Furniture tip-over — every dresser, bookcase and television strapped to a stud.
- Dangling cords — blind pulls, lamp cords, charger cables, power strips.
- Water heater temperature — set to 120°F or below, with an anti-scald device on the sink spout.
- The stove and oven — knob covers, an oven door lock, inward-turning pan handles.
- Stairs — a hardware-mounted gate at the top, not just the bottom.
- Firearms — locked, unloaded, with ammunition stored separately, if your household has one.
What follows is the room-by-room version of that same list, plus what actually holds up under a determined toddler.
Table of Contents
- What You Need
- Step-by-Step: How to Childproof a Home Room by Room
- Entryways, Living Rooms, and Play Areas
- Kitchen
- Bathrooms
- Bedrooms and Nursery Areas
- Stairs, Hallways, and Laundry Areas
- Garage, Basement, and Outdoor-Transition Areas
- Common Mistakes
- Quick Final Safety Check
- Frequently Asked Questions
- At what age should I start childproofing my home?
- Is childproofing enough, or does my child still need supervision?
- Which rooms should I childproof first?
- How do I childproof a rental apartment without damaging the walls?
- How do I toddler-proof outlets and power strips?
- How often should I re-audit my childproofing as my child grows?
What You Need
Most of the useful gear falls into four categories, and you can start with what applies to the rooms your child uses right now.
- Measuring and assessing: a tape measure, a flashlight for checking behind furniture, and about fifteen quiet minutes.
- Blocking access: outlet covers, tamper-resistant receptacles, cabinet locks, drawer latches, toilet locks, a finger-pull door guard, and door stops for rooms a child should not enter alone.
- Anchoring: furniture straps and anti-tip brackets screwed into wall studs, a hardware-mounted stair gate, window guards, and cord channels.
- Containing hazards: a locked box for chemicals, a lidded bin for small objects, a lidded trash can, and a pool fence with a self-latching gate.
On stair gates, one distinction decides everything else. Pressure-mounted gates rely on upward pressure between the floor and the gate, which is fine across a doorway on level ground. Hardware-mounted gates screw into studs and are the only acceptable choice at the top of a staircase.
Supplies also depend on your child’s stage, not their age in months. A pre-crawler needs outlets covered and cords managed. A puller-up needs cabinet latches and anti-tip straps. A climber needs window guards, stair gates, and a lock on anywhere they can reach a high shelf.
In a rental, skip anything that drills. Magnetic cabinet locks, door guards, cord channels, outlet covers and non-slip rug padding all work without touching a wall. If you rent, an anti-tip strap held with heavy furniture instead of a stud is a reasonable compromise, though it is never as strong.
Step-by-Step: How to Childproof a Home Room by Room
The whole method comes down to five repeatable steps, and you run the same loop in every room.
- Get low. Sit or lie on the floor at your child’s height and look outward. Adult eye level hides almost everything that matters, because a toddler’s world starts roughly two feet off the floor.
- Write down what is reachable. Every drawer that opens, every cabinet within reach, every outlet, every cord, every edge, every step they could use to climb higher.
- Fix the worst things first. Water, medication, tip-over risk, heat, and falls come before scuffed knees and a broken vase.
- Test each fix. Tug on it. Pull it. Open it with the same wiggle a two-year-old uses. If a cover comes off in your hand, it will come off in theirs.
- Date the room and revisit it. Write the date on the checklist taped inside a cabinet. Re-audit when your child hits a new milestone, and on a slow quarter-end walk-through.
A room counts as done when you can crawl through it without touching a single sharp edge, an exposed cord, an unguarded opening, or an object small enough to swallow. That is a low bar to clear, and most rooms fail it the first time.
Entryways, Living Rooms, and Play Areas
The biggest hazards in these rooms are tip-overs and cords. Anchor every dresser, bookcase, television, and tall mirror to wall studs, and pull out any furniture a child could use as a step to reach a windowsill.
Manage cords rather than just hiding them. Route lamp and charger cables through cord channels along the baseboard, and keep power strips in a closed, out-of-reach position or inside a fitted cover. Dangling light strings are a repeat offender, so anchor them along the wall at a height no one can reach.
For doors, use a finger-pull guard or a knob-turning door handle so a child cannot open a room alone. Check the fireplace: a screen alone is not enough, since children climb, so set a baby gate or a locking guard across the hearth and remove the matches and lighter fluid.
Keep a lidded bin for the small stuff that accumulates on floors — coins, batteries, magnets, button batteries especially, and anything a pet might carry off. Move breakables, cords and lamps up and back rather than wrapping them in bumpers.
Kitchen
The kitchen causes more injuries than any other room, because it combines heat, sharp edges, water, and chemicals within a few feet of each other. Lock knives in a high drawer, move sharp utensils and small appliances up, and keep the toaster, blender and air fryer on a counter your child cannot reach.
Give the stove specific attention. Add knob covers, use the back burners, and turn pan handles inward so nothing sticks out over a burner. An oven door lock matters more than most parents expect, and the same goes for a dishwasher, which should be locked during a cycle and checked before you press start.
Store cleaning products, dishwasher pods, drain openers, and polish in a locked cabinet or a locked box on a high shelf. Laundry detergent pods are the item most often missed, because they look like candy and the outer box stays on the counter.
Rather than locking every surface, give your child one safe drawer they can open themselves, filled with pots, plastic containers or wooden spoons. Parents report that one open drawer ends the constant cycle of shutting drawers all day.
Bathrooms
Water and medications make bathrooms the second most urgent room. Set the water heater to 120°F or below, and add an anti-scald device on the sink spout if a child can turn on the tap. Keep the toilet lid down with a lock, and never leave a bucket, a cooler, or a filled bathtub unattended.
Put medication, including over-the-counter pain relievers and vitamins, in a locked cabinet rather than a high shelf. Razors, scissors, tweezers, and shaving cream go in a drawer latch. Cleaning supplies and drain cleaners get the same locked treatment as kitchen chemicals.
Add a non-slip mat in the tub and a rubber mat on the floor outside it. Keep hair dryers, curling irons, and electric shavers unplugged and stored away from the tub, and skip the radio in the bath unless it is a sealed unit designed for it.
Here is the line worth drawing: cabinet locks handle everyday access, but no lock replaces a hand on a child in the water. Bathing needs direct, uninterrupted supervision, every time, regardless of how well the room is secured.
Bedrooms and Nursery Areas
Start with the crib. Slats should measure no more than 2 3/8 inch apart, the mattress should fit snugly with no gap at the sides, and nothing should be in the crib but the mattress, a fitted sheet, and a single flat sheet. Follow current pediatric safe sleep guidance and the manufacturer’s instructions for the specific crib.
Then check cords. Window blind pulls and cords are strangulation hazards, so either replace corded blinds with cordless ones or tie the cords up out of reach and out of the loop. Use a window lock and a window guard on any window above the first floor, and know that a screen is not a guard.
In adult bedrooms, anchor dressers and nightstands, move lamps with pull cords out of reach, cover outlets, and keep small objects off surfaces a child can reach when they climb. A bedside table with a lamp, a glass of water, and medication on it is three hazards in one spot.
Traveling counts too. In a hotel room, pack a door wedge, a cord tie, and a few outlet covers, and check the mini-bar and the bathroom cabinet first, because you did not childproof them.
Stairs, Hallways, and Laundry Areas
Stairs are where homes most often fail, and the fix is specific: a hardware-mounted gate at the top of the stairs, screwed into studs, plus a pressure-mounted or hardware-mounted gate at the bottom if needed. Children have died after climbing over or pushing through gates that were never built for a stair position.
Check the rails themselves. Baluster spacing should be narrow enough that a child’s head cannot pass through, typically under 3 1/2 inches. Remove any furniture within several feet of the top of the stairs that a child could climb, because that is how most stair falls begin.
Keep hallways clear so nothing becomes a step, and move coat hooks, bags, and keys out of reach near stair entries. In the laundry room, lock detergent, pods, and stain removers in a cabinet, and keep the iron, sewing machine, and scissors in a closed drawer. Lint is a choking hazard worth noticing, and a laundry room should be closed when you are not in it.
A gate is a backup layer, not a promise. Any child who can reach the top of a staircase should still be within sight and hearing of an adult.
Garage, Basement, and Outdoor-Transition Areas
The garage is usually the least childproofed room in the house and holds the most dangerous items. Put tools, sharp hardware, nails, and power equipment in locked cabinets. Store propane, fuel, paint, solvents, and pool chemicals in an elevated, latched, ventilated cabinet, never in an open bin on the floor.
Batteries, button batteries, and button magnets need a locked drawer, since they pass through a doorway or a garbage bag as easily as they stay in a package. Keep garage-door remotes and key fobs out of reach, and confirm the remote-to-door relationship and the auto-reverse setting before the child is tall enough to reach the wall button.
In a basement, check the water heater temperature setting, keep the utility panel and furnace area closed, and expose no wiring. Any outlet you have to work around is a job for a licensed electrician, not a childproofing kit.
Finally, the transition itself. Back door thresholds, sliding door tracks, and step heights are where falls and pinched fingers happen. Check the back door latch, keep a doorstop on the sliding patio door, and confirm that any exterior gate closes and latches behind you before you allow independent movement between inside and outside.
Common Mistakes
Almost every childproofing regret traces back to one of a handful of mistakes, and each has a specific fix.
- Relying on supervision alone. Supervision is necessary and it is not a plan; adults get called away, and toddlers repeat what worked. Fix: secure the highest-risk items permanently and keep supervision on top of that.
- Leaving a dresser as a step. A child will use it to reach the shelf you just cleared. Fix: anchor the dresser itself, not just the objects on it.
- Buying covers a child can remove. Small plug covers and adhesive straps often fail within weeks, especially near sinks and in humid rooms. Fix: choose hardware-anchored options, and test every piece with a hard tug after installing.
- Ignoring cords and water. Dangling pull cords and an unsupervised tub are the two things most often overlooked. Fix: channel the cords, lock the toilet, and set the heater to 120°F.
- Using one gate everywhere. A pressure-mounted gate at the top of a staircase is the wrong tool. Fix: hardware-mounted gates at every stair top, regardless of what fits the doorway.
- Locking everything. A house where nothing opens creates a fight you will lose daily. Fix: one safe open drawer or bin per room, and let the rest be locked.
- Assuming the setup stays valid. A new TV, a holiday tree, or furniture rearranged for the season quietly undoes the work. Fix: re-audit quarterly and after any layout change.
And a note for when grandparents or sitters are in the house. Put the checklist on the fridge, walk them through the locked areas once, and tell them which rooms require a closed door. Visitors undo good childproofing within an hour of arriving unless they are told what it is.
Quick Final Safety Check
Before you call a room done, run this final walkthrough. It takes about fifteen minutes for a whole house and it catches what a top-down tour misses.
- Crawl the route. Go from the front door to the back door at floor level, exactly as a newly mobile child would.
- Tug and pull. Every cover, latch, strap and gate should stay put under a firm pull from an adult hand.
- Check openings. Look at every window, balcony, deck rail and closet door for a gap big enough to squeeze through.
- Hunt for choking-size objects. Anything that fits through a toilet paper tube does not belong on the floor or a low shelf.
- Verify the systems. Smoke and carbon monoxide alarms sound, outlets are covered, the water heater is at 120°F or below, and stair gates are screwed to studs.
- Get a second set of eyes. Have another adult walk the route without you pointing anything out. They will find the outlet you stopped noticing months ago.
Date the checklist, and put it back in the same place. The next walkthrough is fifteen minutes and one new skill away.
Frequently Asked Questions
At what age should I start childproofing my home?
Start before your child is mobile, usually around six to nine months, because most accidents happen in the weeks after a new skill appears. Cover outlets and manage cords first, then add cabinet locks before pulling to stand and stair gates before cruising. A pre-crawler can already reach things adults overlook, and the setup takes an afternoon when nothing is moving yet.
Is childproofing enough, or does my child still need supervision?
Childproofing and supervision do different jobs. Locks and straps remove hazards you might miss during a distracted moment; supervision covers everything the hardware cannot reach, from a bathtub to a busy street. Parents on parenting forums frequently report that a small setup plus consistent supervision works better in practice than an exhaustive one that gets worn down by daily friction.
Which rooms should I childproof first?
Start with the kitchen, then the bathroom, then anywhere with stairs or a second-floor window. Those three rooms carry the most combinations of water, heat, chemicals, and falls. If you can only do one room this week, make it the kitchen, and set the water heater to 120 degrees F while you are at it.
How do I childproof a rental apartment without damaging the walls?
Stick to removable fixes: magnetic cabinet locks, door guards, cord channels, outlet covers, non-slip rug padding, and a pressure-mounted gate at the bottom of stairs. Anchor furniture with straps secured to the heaviest piece nearby rather than to a stud, and check your lease before drilling anything. Window guards at second-floor heights are worth a landlord conversation rather than a tenant workaround.
How do I toddler-proof outlets and power strips?
Tamper-resistant receptacles, which have internal shutters that open only when a plug is inserted, are the better long-term answer and are the option the National Fire Protection Association recommends over plastic plug covers. Where you cannot replace an outlet, use sliding or screw-in covers rather than small plug caps a child can remove and pocket, and enclose or elevate every power strip.
How often should I re-audit my childproofing as my child grows?
Re-audit whenever a new skill appears: crawling, pulling to stand, walking, climbing, and then opening doors independently. On top of that, give the whole home a fifteen-minute review each quarter and after any furniture change, since rearranging a room quietly undoes work you did months earlier. The dates on your checklist matter more than the checklist itself.
Start where the risk is highest: lock the medications, empty and lock the toilet, set the water heater to 120°F, and anchor the tall furniture and the television to studs. That is the honest core of how to childproof a home room by room: fix the worst thing in the room, then walk the floor again. Re-audit when your child hits a new milestone, and give the whole home fifteen honest minutes once a quarter. If you want a deeper read on the developmental and nutritional side of raising a small child, our guides on newborn care and family wellness are a good next stop.