How to choose a car seat for a newborn comes down to three things: the seat’s own height and weight limits for a newborn, whether it fits your specific vehicle, and whether you can install it the way the manual describes. Get those right and everything else, from fabric to cup holders, is decoration. This guide walks through the same sequence I would use with an expectant parent in front of me: measure first, read the manual, then decide.
The stakes are worth a few careful minutes. Proper car seat use cuts the risk of fatal injury in infants by roughly 71 percent, according to federal safety research cited widely by pediatric groups, and almost every failure I see comes from a small mistake: a harness slot one notch too high, a belt that looks tight but is not locked, an insert nobody tested.
Nothing here is medical advice, and nothing replaces the two manuals that came with your seat and your car. Those two documents decide every question below. When a manual and a blog disagree, the manual wins.
Table of Contents
- What You Need
- Step-by-Step: How to Choose a Car Seat for a Newborn
- Check That the Seat Fits a Newborn
- Choose the Right Type of Car Seat
- Check the Vehicle and Installation
- Test the Harness and Buckle
- Consider Safe Use Beyond the Newborn Months
- Set a Realistic Budget
- How to Choose a Car Seat for a Newborn: The Final Safety Check
- Common Mistakes
- Frequently Asked Questions
- How long should a newborn ride rear-facing?
- Is a rear-facing infant car seat better than a convertible seat for a newborn?
- Can I use a second-hand car seat if I do not know its history?
- What if my baby does not fit comfortably in the newborn insert?
- Do removable infant inserts make a car seat safer?
- Should I ask a child passenger safety technician to check the seat?
- Conclusion
What You Need
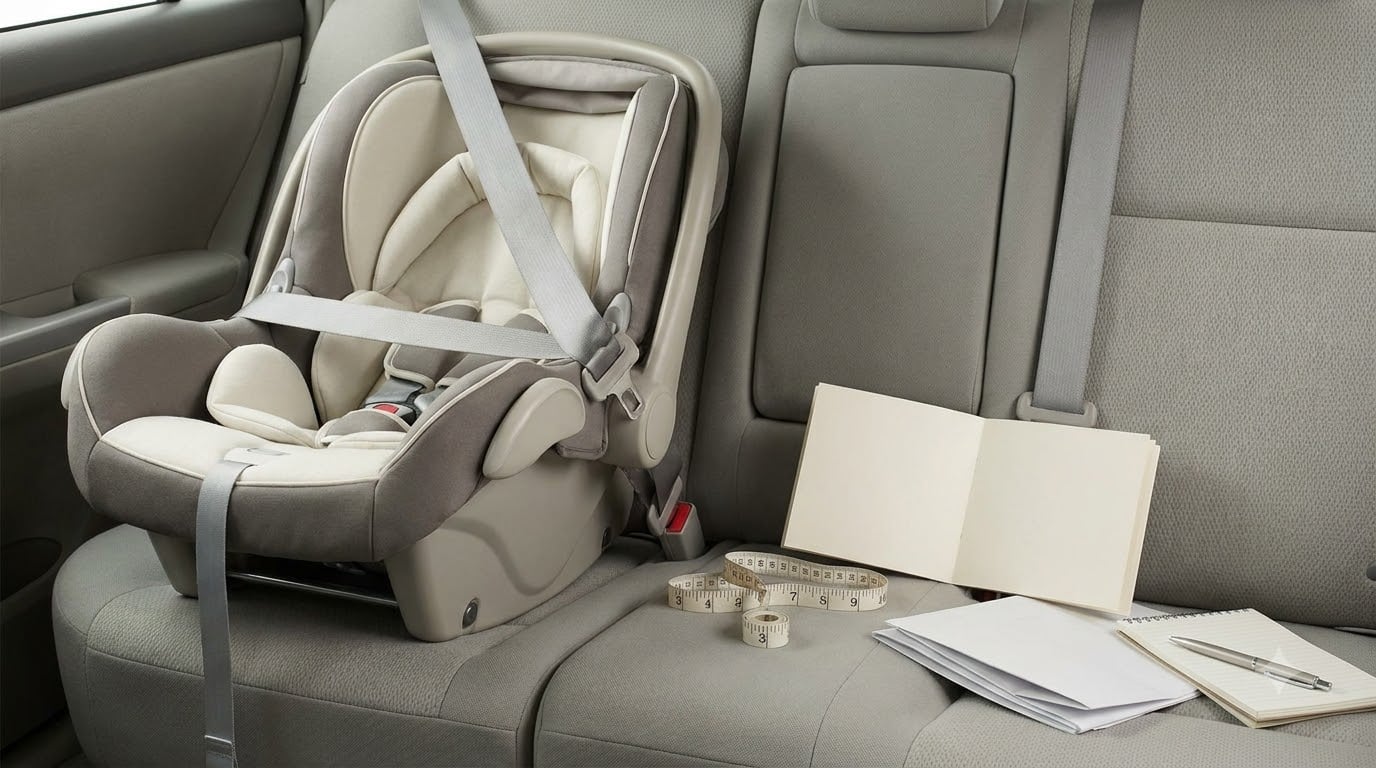
Have these ready before you start shopping. Without them, a seat can look perfect in a store and be unusable in your driveway.
- Your baby’s current height and weight. Write the numbers down. Hospital discharge paperwork or a home scale gives you both.
- Your vehicle’s make, model, model year, and seat belt type. Whether the belt has a retractor, a locking collar, or a built-in locking feature changes the installation method completely.
- The vehicle owner’s manual. It tells you which seating positions are allowed for a child restraint and where the lower anchors are.
- The car seat manual, before purchase. Manufacturers publish these online, and the newborn ranges are printed on the seat itself.
- Your purchase record. Model number, manufacture date, receipt, and the seat’s registration card.
- A certified child passenger safety technician (CPST). Many hospitals, fire stations, and police departments run free or low-cost seat checks, and some states cover them through public health programs.
- The NHTSA recall lookup. Seats get recalled for harness straps, buckles, and bases. Register the seat and check the model number.
With those in hand you can reject a seat on the spot. A seat that is too tall for your back seat, already past its manufacture date, or recalled is not a deal at any point.
Step-by-Step: How to Choose a Car Seat for a Newborn
Check That the Seat Fits a Newborn
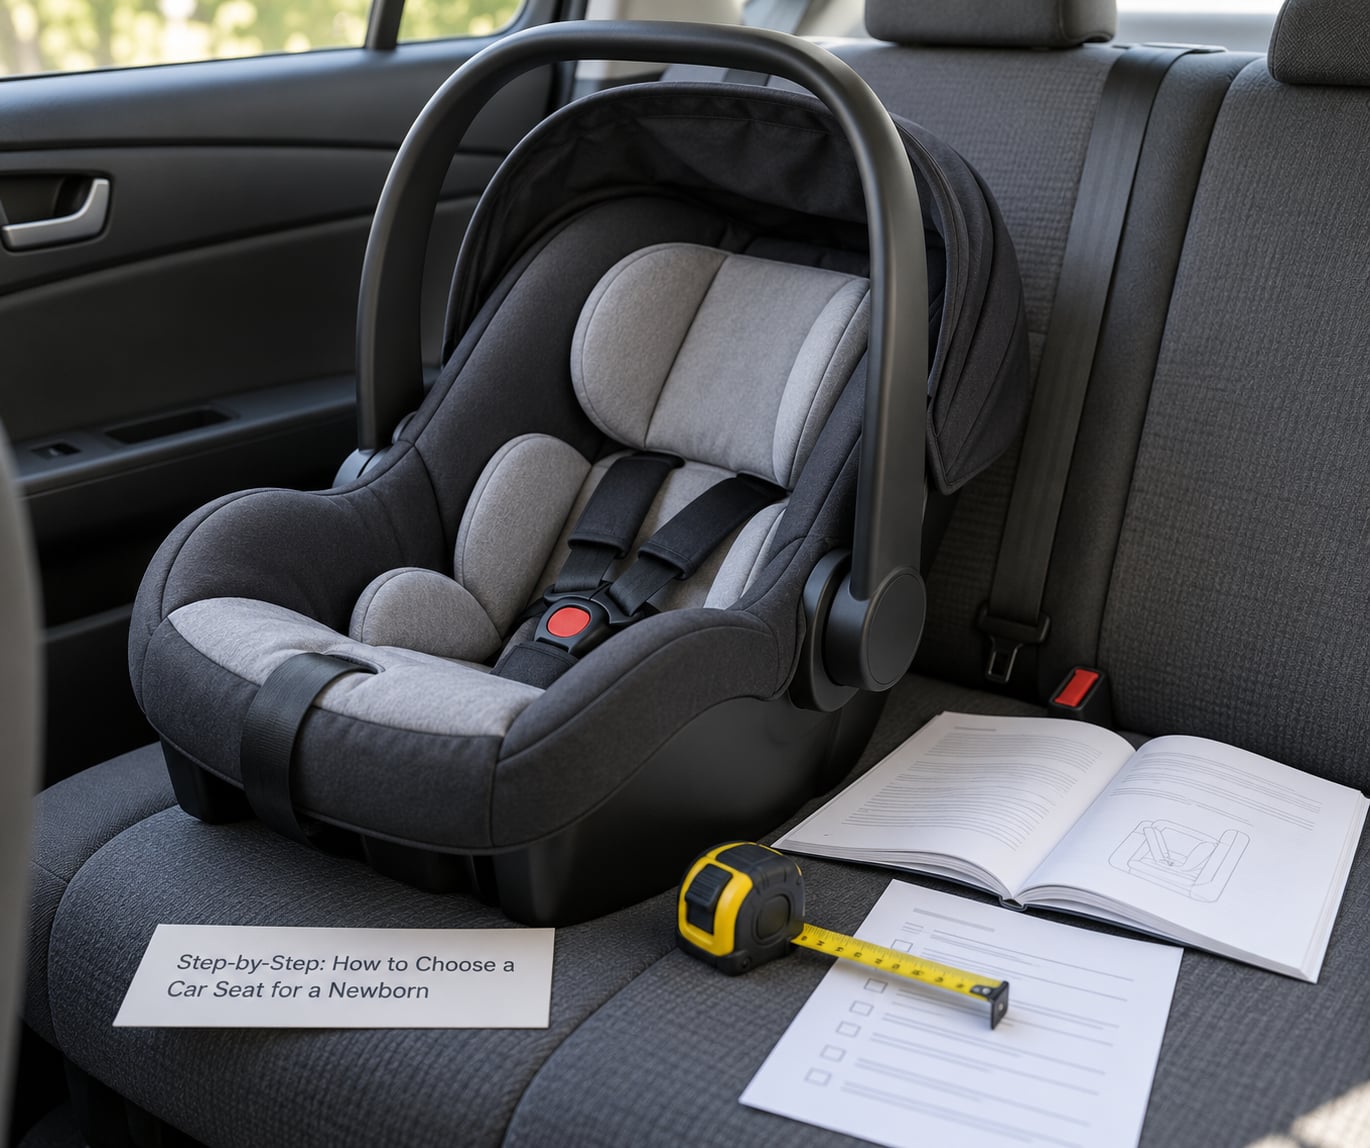
Read the height and weight range printed on the seat, and treat the lower number as a floor you must clear on day one. Then check the fit, which is where most newborn mistakes start.
Put your baby in the seat and look at the harness from the front and the back. Rear-facing, the harness straps need to be at or below the shoulders, with the slot chosen by the manufacturer rather than by any rule of thumb you find online. If the lowest available slot still sits above the shoulders, the seat is not a newborn seat for your child, no matter what the box says.
Pull the harness snug until you cannot pinch any webbing at the shoulder. The chest clip is a positioning aid, not the fit test; place it at the height the manual specifies, which is often armpit level for infants. Check the crotch buckle too. If the buckle sits below the armpit on a newborn, the harness is routing wrong or the child is too small for that configuration.
Premature and small babies deserve extra care. A baby under 5 pounds may need a seat rated from 3 pounds, and the hospital or neonatal team often approves the specific seat before discharge. Ask the nurse or your child’s clinician, not the retail display. If you are still working out how to choose between a hospital, birth center, and home birth, settle it before the due date, because the discharge staff are the ones who will look at your install.
Choose the Right Type of Car Seat
Three seat types cover newborns, and the difference is mostly about portability versus how long the seat lasts.
| Seat type | Newborn fit | Rear-facing use | Portability | Best for |
|---|---|---|---|---|
| Rear-facing infant carrier | Usually the best newborn fit, often with a removable insert | Until the seat’s height or weight limit, commonly near 30 to 32 inches | Highest, clicks into a base and many strollers | Parents who carry the baby in and out of the car daily |
| Convertible seat | Many models are approved from birth with the newborn insert in place | Rear-facing to the seat’s limit, then forward-facing with a harness | Low, stays bolted into the car | Families who want one seat to cover several stages |
| All-in-one seat | Usually fine for a newborn if the manual lists a newborn range | Rear-facing, then harness forward-facing, then a booster | Low | Multi-child households who want one seat per stage |
Infant carriers are the most common first purchase because they are light and click into a base. Convertible and all-in-one seats trade that convenience for years of use. The mistake I see most often is optimizing for a seat the newborn has already outgrown, or skipping the carrier because a bigger seat sounds like better value.
A practical note from parents: babies usually outgrow an infant seat by height long before they reach its weight limit. Measure the top of the head to the seat, not the weight on the scale.
Check the Vehicle and Installation
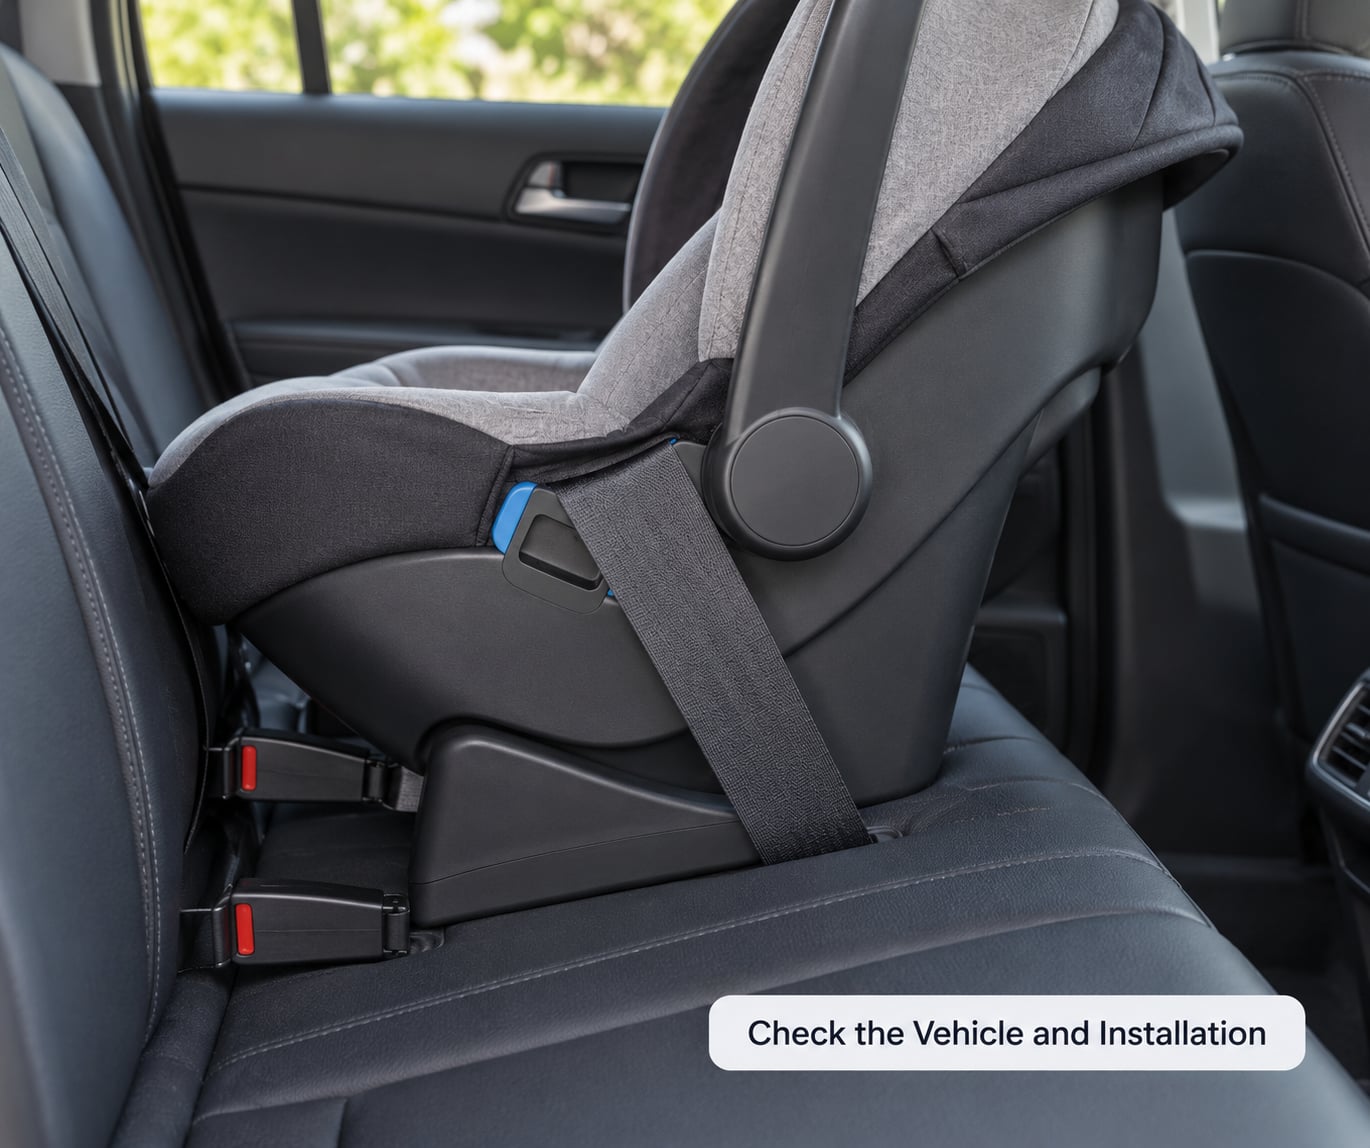
The vehicle manual comes first. It says which seating positions may hold a child restraint and where the lower anchors sit. In many cars the middle position is off-limits for an infant seat, which changes your three-across plans entirely.
Use the lower anchors, called LATCH in the US, if both the seat manual and the vehicle manual allow them. If the vehicle belt cannot be used, the base may have a locking clip or the seat may need a different belt path. Common reasons a belt install fails: the belt is too short for the required path, the retractor is in the wrong mode, or the buckle is routed beside the belt path instead of through it.
Install exactly as the seat manual shows, at the angle it specifies. A load leg or anti-rebound bar is only correct when it is set per the manual and rests on the floor or a vehicle footwell, not on a seat gap. Check the install at least once a month and after any car repair.
Test the Harness and Buckle
Before the baby is in the seat, test the harness with your own hands. Pull each strap to its highest slot and confirm the shoulder straps lie flat and untwisted. Buckle and unbuckle twice, then press the buckle down hard; a latch that pops open needs service, not persuasion.
Keep optional inserts out of the seat unless the manufacturer permits them. Extra padding can change the harness geometry and put straps at the wrong height, which is exactly the fit a newborn cannot afford to lose. Many seats ship with an insert made by the same company, and that one is tested.
Add nothing aftermarket: no strap pads, no head supports, no aftermarket cushions. A thin clothing layer is fine. A winter coat is not, because it compresses in a crash and leaves the harness loose.
Consider Safe Use Beyond the Newborn Months
Car seats expire. The date is molded into the shell or printed on a label, and most are dated from manufacture rather than sale, so a seat that sat in a warehouse can be near the end on the day you open the box.
Avoid a second-hand seat unless you can confirm its history: no crash involvement, no missing parts, an unexpired date, and no recall on the model number. A seat that sat in a garage or a storage unit may have been exposed to heat that damages the shell. When in doubt, a new seat is the cheaper option.
Register the seat for recall notices, keep the manual and receipt with the seat, and note the model and serial numbers somewhere outside the seat itself. If the seat was ever in a vehicle during a crash, replace it.
Set a Realistic Budget
Cost varies by seat type, materials, brand, installation features, and retailer, and premium seats are not automatically safer for your particular vehicle. Federal crash standards apply to every seat sold in the US, so the differences you are paying for are usually ease of use, adjustability, and build quality rather than a higher safety bar.
Spend on the seat and on getting it installed correctly, not on accessories. Budget for the fact that you will probably buy a next-stage seat later anyway, which is why a convertible is a reasonable way to spread the cost.
Help with installation is often free through hospitals, health departments, fire stations, or police car seat programs. Some insurers and state programs cover a seat outright, and hospital social workers can point you to local resources.
How to Choose a Car Seat for a Newborn: The Final Safety Check
Run this list before the first drive, and again whenever you change vehicles or caregivers.
- The seat is approved for your baby’s current height and weight.
- It is installed rear-facing in a permitted seating position.
- The installation matches the seat manual, and the belt or lower anchors are locked.
- Harness straps are at or below the shoulders, snug with no pinch.
- The buckle clicks securely and stays clicked.
- The chest clip sits where the manual specifies.
- The recline angle matches the indicator for a rear-facing install.
- The seat is unexpired and not on the recall list.
- The vehicle manual and seat manual were both consulted, not memory.
If any line above makes you hesitate, that is the moment to book a seat check with a technician. Most hospital and fire station clinics will walk through it with you in about fifteen minutes.
Common Mistakes
Most car seat errors I hear about fit into a short list, and each has a quick correction.
- Choosing by age alone. Fix: use height and weight, not the month on the box.
- Ignoring the lower limit. Fix: confirm your baby clears the minimum on day one.
- Using an expired or recalled seat. Fix: check the molded date and the model number against the federal recall list.
- Skipping inspection of a used seat. Fix: verify the date, the parts, and the crash history before you trust it.
- Routing harness straps wrong. Fix: follow the manual’s threading, usually through the back panel at shoulder level.
- Treating the chest clip as the fit test. Fix: snug the harness first, then position the clip.
- Pairing a carrier with the wrong base. Fix: use the base made for that model, installed per its manual.
- Adding unapproved inserts or pads. Fix: use only accessories the manufacturer permits.
- Letting cup holders or canopies set the recline. Fix: set the angle to the indicator, and ignore anything that changes it.
One habit covers half of these: keep the manual with the seat and check recalls before you install it. That takes five minutes and it is the difference between a seat you know is correct and one you hope is.
Frequently Asked Questions
How long should a newborn ride rear-facing?
Keep your child rear-facing until they reach the maximum height or weight limit of the seat, which is the standard the American Academy of Pediatrics recommends. Many children outgrow the rear-facing limit around age two to four, and a convertible seat lets you keep going as long as the seat allows. Forward-facing before that limit offers no benefit.
Is a rear-facing infant car seat better than a convertible seat for a newborn?
Neither is safer by default. An infant carrier usually fits a smaller baby better and is lighter to carry, while a convertible seat that is approved from birth avoids a second purchase later. Read both manuals, confirm the newborn height and weight range, and check the harness fits at or below the shoulders before you decide.
Can I use a second-hand car seat if I do not know its history?
Only if you can confirm it was never in a vehicle during a crash, has no missing parts, is not past its molded expiration date, and has no open recall on the model number. Storage in a hot garage or attic can damage the shell without any visible sign. If any of those answers is unclear, start with a new seat.
What if my baby does not fit comfortably in the newborn insert?
Take the baby out, remove the insert, and recheck the harness height and snugness with the manual open. An insert is meant to fill space for a small baby, not to fix a harness that sits too high or too loose. If the straps still land above the shoulders at the lowest slot, the seat does not fit your child and you need a different model.
Do removable infant inserts make a car seat safer?
Only the insert supplied and approved by the manufacturer, used exactly as the manual directs. Aftermarket cushions, strap pads, and head supports can change the harness geometry and shift the straps to the wrong height. For a newborn, correct harness height matters far more than extra padding, so skip anything the manufacturer did not design for that seat.
Should I ask a child passenger safety technician to check the seat?
Yes, if anything about the install or the harness fit is uncertain, and honestly even if nothing seems uncertain. Many hospitals, fire stations, and police departments offer free seat checks, and a technician can catch belt-routing and angle errors that are invisible from the outside. Expect it to take about fifteen minutes.
Conclusion
Start with your baby’s actual height and weight, then read the seat manual and the vehicle manual side by side. Choose rear-facing, install it exactly as described, and confirm the harness sits snug with the straps at or below the shoulders.
If one detail is uncertain, book a seat check with a certified child passenger safety technician before the first drive home. That single appointment catches more problems than any buying guide can.